How to winterize outdoor Kitchen: A Complete Guide
- Prevent costly repairs to plumbing and appliances
- Extend the lifespan of your outdoor kitchen components
- Protect expensive countertop materials from cracking
- Preserve the appearance of cabinetry and fixtures
- Make the spring reopening quicker and easier

When to Winterize Outdoor Kitchen
Timing is important when it comes to winterizing your outdoor kitchen. You want to complete the process before the first freeze, but not so early that you miss out on those beautiful fall evenings outdoors.
The ideal time to winterize your outdoor kitchen is when nighttime temperatures consistently drop below 40°F (4°C), typically in late fall depending on your region.
For those in northern climates, this might mean early to mid-October, while southern regions may wait until November or December. Monitor your local weather forecast and plan to complete winterization at least a week before the first predicted freeze.
Materials Needed for Winterization
Before you begin the winterization process, gather all necessary supplies. Having everything on hand will make the process more efficient and ensure you don’t miss any steps.
Cleaning Supplies
Protection Materials
- Pipe insulation
- RV antifreeze (non-toxic)
- Waterproof covers for appliances
- Breathable furniture covers
- Countertop sealant (if applicable)
- Cooking oil (for grill grates)

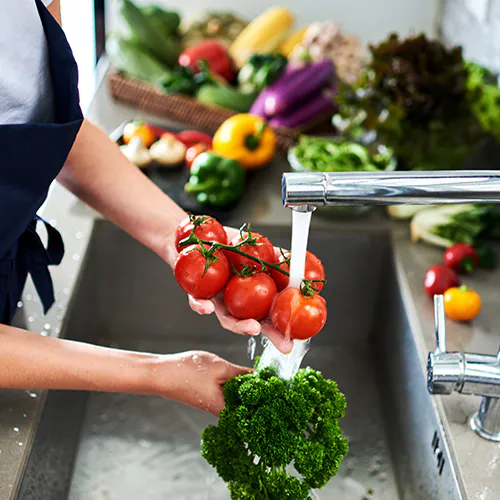
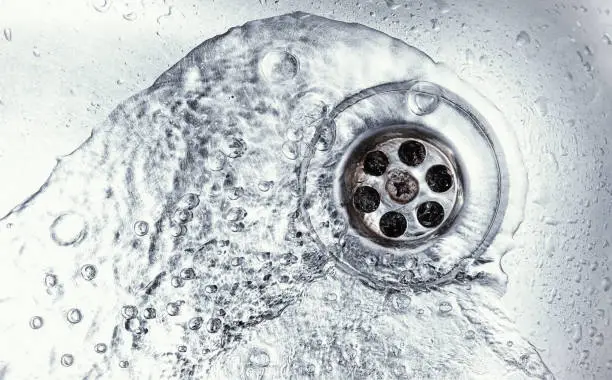
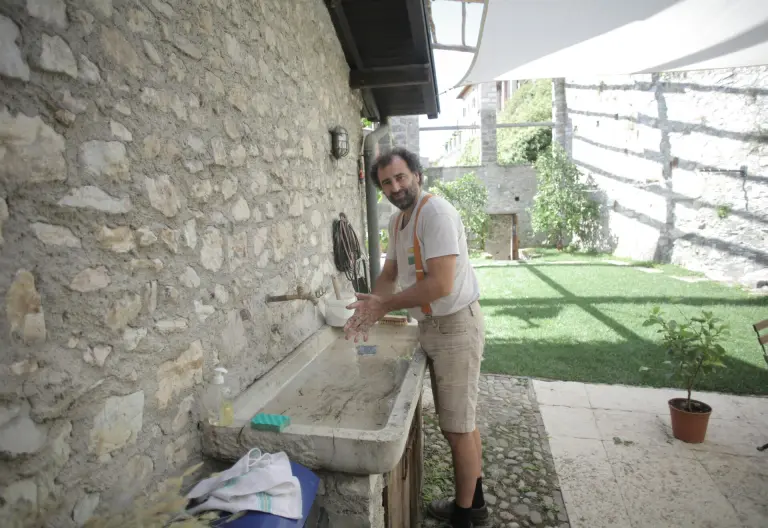
Step 1: Shut Off and Drain Water Lines
The most critical step in winterizing your outdoor kitchen is properly shutting off and draining all water lines. Frozen water can expand and burst pipes, causing extensive and expensive damage.
Warning: Failing to properly drain water lines is the #1 cause of winter damage to outdoor kitchens. This step should never be skipped, even in milder climates.
Complete Water Line Winterization Process:
- Locate and turn off the main water supply valve to your outdoor kitchen
- Open all outdoor faucets to drain remaining water
- Disconnect hoses and store them indoors
- Use an air compressor to blow out any remaining water in the lines (optional but recommended)
- Pour non-toxic RV antifreeze into drains and p-traps
- Leave faucets in the open position throughout winter

For ice makers and refrigerators with water dispensers, refer to your owner’s manual for specific instructions on draining water lines. Most manufacturers recommend disconnecting the water supply and running the unit until all water is purged from the system.
Step 2: Clean and Protect Appliances
Your outdoor kitchen appliances require thorough cleaning and proper protection to withstand winter conditions. Each appliance has specific winterization needs.
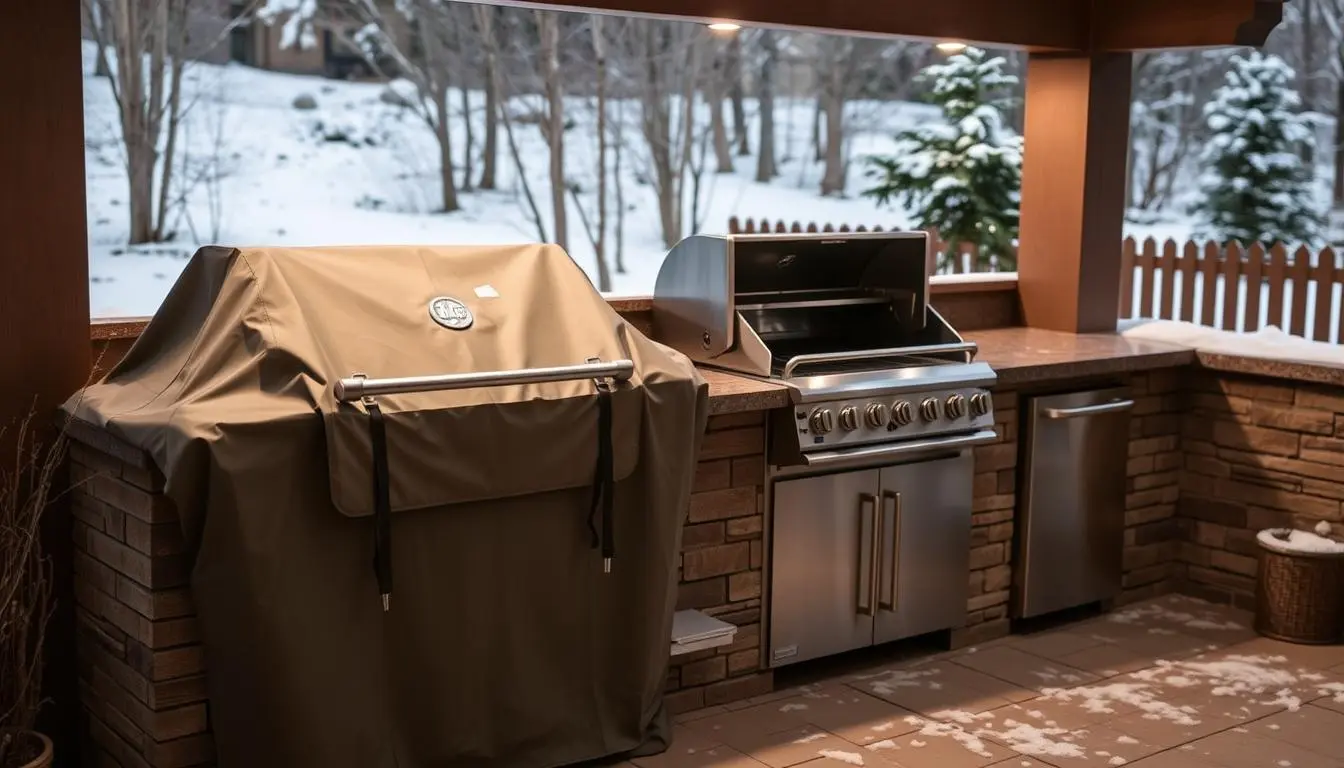
Grill Winterization
Your grill is likely the centerpiece of your outdoor kitchen and requires special attention:
- Remove and clean grates, burners, and drip pans with a degreaser
- Scrub the interior and exterior with appropriate cleaners
- For gas grills, turn off the gas supply at the source
- Apply a light coat of cooking oil to cast iron grates to prevent rust
- Cover with a breathable, waterproof grill cover

Refrigerator and Ice Maker
Outdoor refrigeration units need special care to prevent damage:
- Remove all food and beverages
- Turn off power and unplug the unit
- Clean interior and exterior with mild soap
- Drain water lines for ice makers and water dispensers
- Leave doors slightly ajar to prevent mold (use a towel to prop open)
- Cover with manufacturer-recommended covers
Range Hood
Often overlooked, your range hood collects significant grease and debris:
- Remove and clean filters (many are dishwasher safe)
- Use a degreaser on interior surfaces
- Clean exterior with stainless steel cleaner
- Ensure all vents are clear of debris
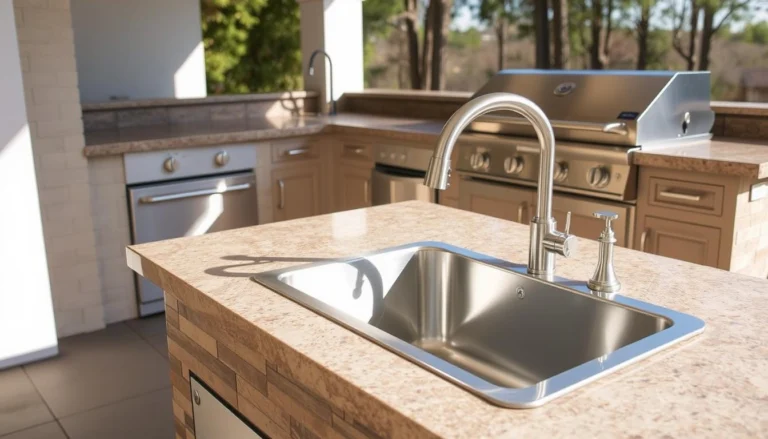
Step 3: Protect Countertops and Surfaces
Different countertop materials require specific winterization approaches to prevent damage from freeze-thaw cycles and moisture.
| Countertop Material | Winterization Method | Products Needed |
| Granite | Clean thoroughly and apply sealer | Stone-specific cleaner and granite sealer |
| Concrete | Clean, seal, and cover | Concrete sealer and breathable cover |
| Stainless Steel | Clean, polish, and cover | Stainless steel polish and cover |
| Tile | Clean grout, seal, and cover | Grout sealer and waterproof cover |

For all countertop types, ensure they are completely dry before covering. Trapped moisture can cause more damage than exposure to the elements. Use breathable covers when possible to prevent condensation buildup.
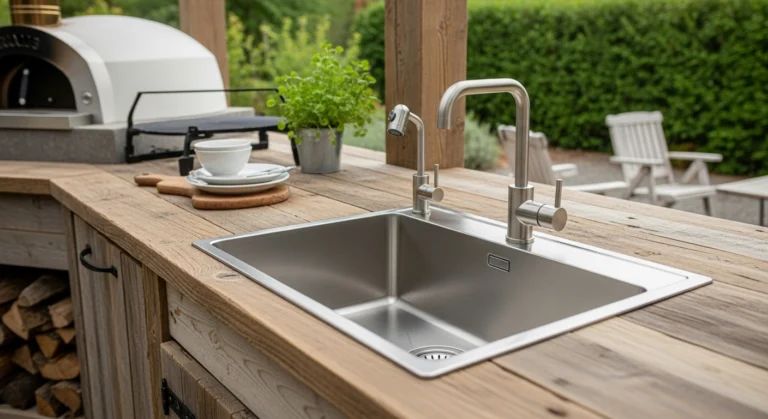
Step 4: Prepare Cabinetry and Storage Areas
Your outdoor kitchen cabinets are exposed to harsh elements and need proper winterization to maintain their appearance and functionality.
Stainless Steel Cabinets
Stainless steel cabinets are durable but still require care:
- Empty all contents and store indoors
- Clean with stainless steel cleaner
- Apply stainless steel polish to create a protective barrier
- Consider covering with breathable cabinet covers
Wood or Composite Cabinets
Wood and composite materials are more susceptible to moisture damage:
- Empty all contents
- Clean with appropriate wood cleaner
- Apply sealer or protective oil according to manufacturer recommendations
- Cover with waterproof, breathable covers

Step 5: Protect Outdoor Furniture and Accessories
Don’t forget about the furniture and accessories that complete your outdoor kitchen area:
- Clean all furniture according to material-specific instructions
- Store cushions and fabric items indoors
- Cover tables, chairs, and benches with appropriate covers
- Store smaller accessories like utensils and serving pieces indoors
- Elevate furniture if possible to prevent moisture wicking from the ground

Regional Winterization Considerations
Winterization needs vary significantly based on your climate. Adjust your approach accordingly:
Severe Winter Regions
(Northeast, Midwest, Northern Mountain States)
- Complete all winterization steps thoroughly
- Consider professional winterization for plumbing
- Use heavy-duty covers rated for snow load
- Check periodically during winter thaws
Moderate Winter Regions
(Mid-Atlantic, Pacific Northwest, Higher Elevations in Southern States)
- Focus on water line protection
- Use breathable covers to prevent moisture buildup
- Consider using the kitchen on milder winter days
- Monitor during freeze/thaw cycles
Mild Winter Regions
(Southern States, California, Desert Southwest)
- Basic cleaning and maintenance
- Protect from rain and occasional freezes
- Focus on pest prevention
- Continue using the kitchen throughout winter with precautions
Extending Your Outdoor Kitchen Season
Want to enjoy your outdoor kitchen longer? Consider these options to extend your outdoor cooking season:
- Patio heaters – Provide localized warmth for cooler evenings
- Outdoor fireplace or fire pit – Creates ambiance and warmth
- Windbreaks or privacy screens – Block cold breezes
- Pergola with retractable cover – Protects from elements
- Outdoor-rated ceiling fans – Circulate warm air from heaters

Spring Reopening Checklist
When warm weather returns, follow these steps to reopen your outdoor kitchen:
- Remove all covers and inspect for any winter damage
- Reconnect water lines and check for leaks
- Reconnect gas lines and test for proper operation
- Clean all surfaces again before first use
- Run appliances briefly to ensure proper function
- Replace any items removed for winter storage

Protect Your Investment with Proper Winterization
Taking the time to properly winterize your outdoor kitchen is an investment in its longevity. By following this comprehensive guide, you’ll protect your appliances, surfaces, and plumbing from winter damage and ensure your outdoor entertaining space remains beautiful and functional for years to come.
Remember that consistency is key—make winterization an annual ritual at the end of each outdoor cooking season. Your future self will thank you when spring arrives and your outdoor kitchen is ready for action with minimal effort.

Conclusion
Winterizing your outdoor kitchen isn’t just a seasonal chore—it’s a smart investment in your outdoor living space. By properly shutting down your appliances, protecting plumbing, and covering your outdoor kitchen surfaces, you’ll prevent costly damage and extend the life of your setup. Whether your space includes a full outdoor kitchen island, a simple grill station, or an outdoor sink, taking the time to winterize now means less hassle and expense come spring.
Frequently Asked Question (FAQs)
Related Articles
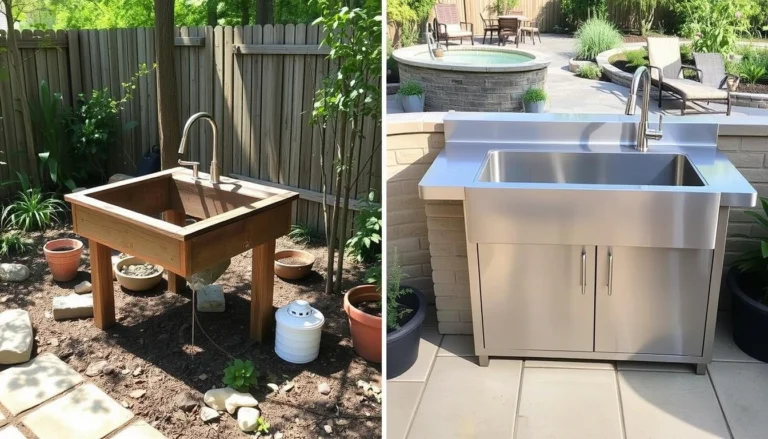
1- How to Winterize an Outdoor Sink in 5 Easy Steps
https://openskykitchen.com/how-to-winterize-an-outdoor-sink-2/
2- Expert Guide to Outdoor Kitchen Plumbing
https://openskykitchen.com/expert-guide-to-outdoor-kitchen-plumbing/
3- The Outdoor Kitchen Sink: A Buyer’s Guide
https://openskykitchen.com/the-outdoor-kitchen-sink-a-buyers-guide/