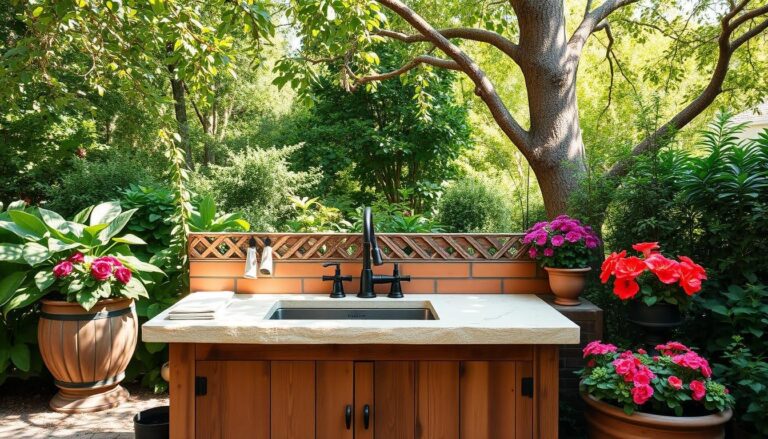
Winterize an Outdoor Sink in 5 Easy Steps
Why Winterizing an Outdoor Sink Is Essential
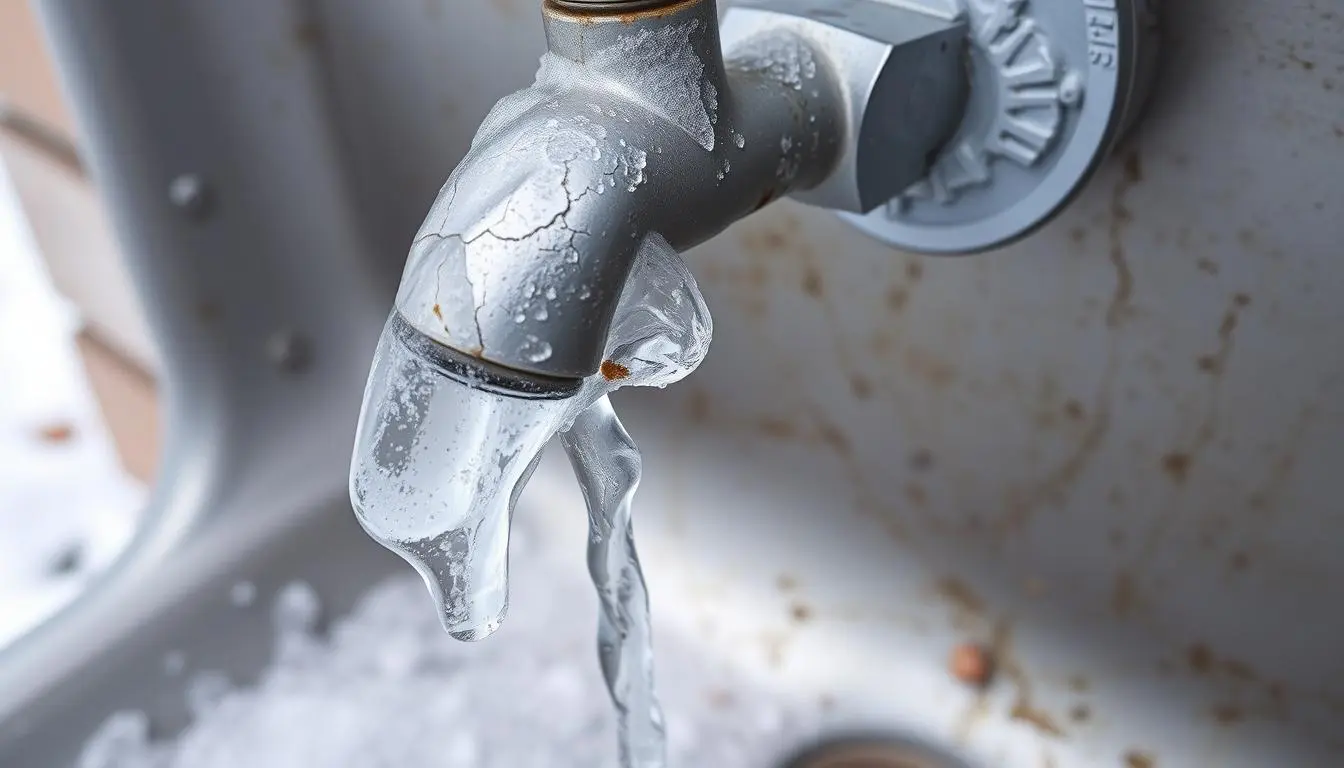
Frozen pipes can lead to cracks and expensive repairs
Water expands when it freezes, increasing in volume by approximately 9%. This expansion creates tremendous pressure inside pipes and fixtures, enough to crack metal or plastic pipes and damage expensive fixtures. Even small cracks can release hundreds of gallons of water, causing significant property damage.
Beyond the immediate damage to your sink and plumbing, water damage can affect surrounding structures, including your outdoor kitchen cabinetry, countertops, and even your home’s foundation if the sink is attached to your house.
Proper winterization protects your investment and ensures your outdoor sink will be ready for use when spring arrives, without requiring costly repairs or replacement.
Important: Even “freeze-proof” outdoor fixtures need proper winterization in regions where temperatures drop below freezing for extended periods.
Materials You’ll Need for Winterizing an outdoor sink

Essential Tools:
- Adjustable wrench
- Screwdriver (flathead and Phillips)
- Pliers
- Bucket or container
- Towels or rags
Winterization Materials:
- Non-toxic RV antifreeze (1-2 gallons)
- Pipe insulation sleeves
- Heat tape (for exposed pipes)
- Waterproof sink cover
- Teflon tape
Note: Always use non-toxic RV antifreeze specifically designed for plumbing systems. Never use automotive antifreeze, which is toxic and can contaminate water supplies.
Step-by-Step Guide to Winterizing an Outdoor Sink

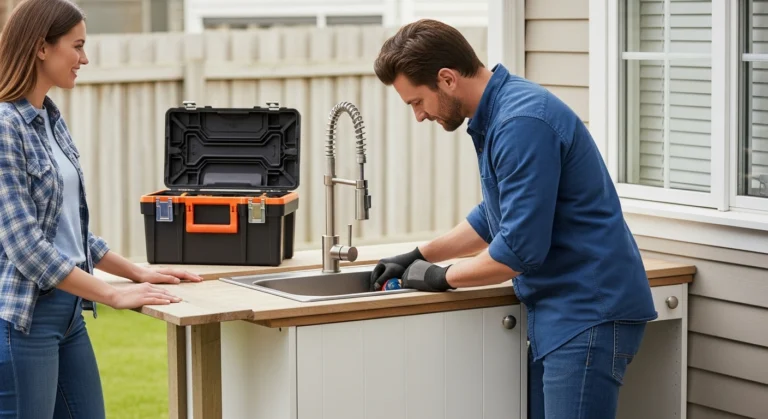
Step 1: Shut Off the Water Supply
- Locate the water shut-off valve that controls water flow to your outdoor sink. This is typically found inside your home, often in the basement or crawl space near where the water line exits to the outside.
- Turn the valve clockwise until it’s completely closed. If it’s a lever-type valve, rotate it 90 degrees so it’s perpendicular to the pipe.
- Test that the water is truly off by turning on the outdoor faucet. If water still flows, you haven’t found the correct shut-off valve.

Step 2: Drain the Pipes and Faucet
- Open both hot and cold water taps on your outdoor sink and leave them open.
- Allow all water to drain completely from the lines. This may take several minutes.
- If your sink has a spray attachment or separate faucet, activate these as well to ensure all water drains out.
- Place a bucket beneath any drain pipes to catch water that may drain out.
“The most common cause of frozen pipe damage is failing to properly drain all water from the lines. Take your time with this step—it’s the most important part of winterization.”

Step 3: Add Antifreeze to the Drain Trap
- Pour approximately 1 cup of non-toxic RV antifreeze down the sink drain.
- The antifreeze will settle in the P-trap (the curved section of pipe under the sink) and prevent any remaining water from freezing and cracking the pipe.
- If your sink has multiple drains or a garbage disposal, repeat this process for each drain.
Warning: Only use non-toxic RV/marine antifreeze specifically labeled for plumbing systems. Regular automotive antifreeze is highly toxic and should never be used in plumbing systems.

Step 4: Insulate Exposed Pipes
- Identify any exposed pipes that could be vulnerable to freezing temperatures.
- Measure and cut foam pipe insulation sleeves to fit each section of exposed pipe.
- Wrap the pipes with the insulation sleeves, ensuring all areas are covered.
- Secure the insulation with tape or zip ties as needed.
- For extremely cold climates, consider adding heat tape beneath the insulation for additional protection.

Step 5: Disconnect and Store Attachments
- Remove any hoses, spray attachments, or other accessories connected to your outdoor sink.
- Drain these items completely and store them in a dry, protected area.
- If your sink has removable parts like a cutting board or drainer, clean and store these indoors as well.

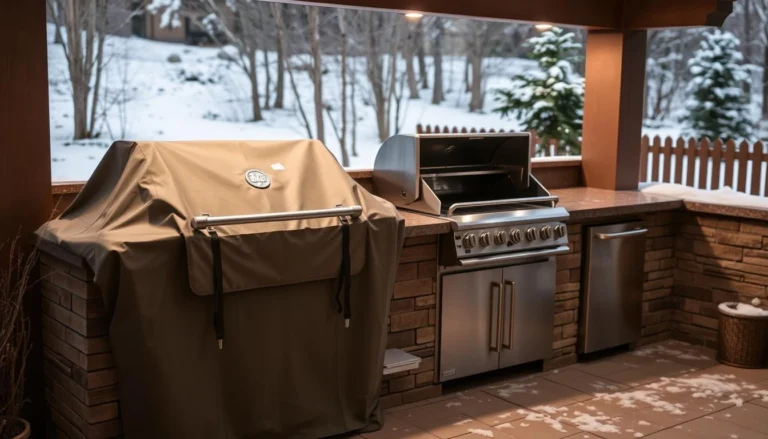
Step 6: Cover and Protect the Sink
- Clean the sink thoroughly to remove any food particles, debris, or residue.
- Dry the sink completely with towels to prevent any standing water from freezing.
- Cover the entire sink with a waterproof cover designed for outdoor fixtures.
- Secure the cover with bungee cords or other fasteners to prevent it from blowing off in winter winds.
Pro Tip: If you don’t have a commercial sink cover, you can use a heavy-duty tarp secured with bungee cords. Just make sure it completely covers the sink and is tightly secured.
Pro Tips for Complete Outdoor Sink Protection

Perform a pre-winter inspection.
Before temperatures drop below freezing, conduct a thorough inspection of your outdoor sink and plumbing. Look for signs of leaks, cracks, or damage that should be repaired before winterization. Small issues can become major problems when exposed to freezing temperatures.
Consider Blowing Out the Lines
For complete water removal, consider using an air compressor to blow out any remaining water in the lines. This is especially important in regions with severe winters. Set the compressor to no more than 40 PSI to avoid damaging the pipes.
Install Frost-Free Fixtures
If you frequently use your outdoor sink, consider upgrading to frost-free fixtures. These special faucets have a shut-off valve located inside the heated area of your home, which helps prevent freezing. While not a substitute for proper winterization, they provide an additional layer of protection.
Schedule Mid-Winter Checks
During particularly cold spells, check your outdoor sink area for any signs of problems. Early detection of issues can prevent more extensive damage. Look for ice buildup, damaged covers, or signs that animals have disturbed your winterization setup.
Protect Your Investment with Proper Winterization

Properly winterizing your outdoor sink is a small investment of time that can prevent significant damage and costly repairs. By following the steps outlined in this guide, you’ll ensure your outdoor sink remains in excellent condition throughout the winter months and is ready for use when warmer weather returns.
Remember that thorough drainage is the most critical step in the winterization process. Even small amounts of water left in pipes can freeze and cause damage. Take your time with each step, and don’t hesitate to consult a professional if you’re unsure about any part of the process.
Remember: The cost of professional winterization is significantly less than the cost of repairing frozen and burst pipes. Protect your investment now to avoid headaches later!
Frequently Asked Questions
Can I use regular automotive antifreeze to winterize my outdoor sink?
No, never use automotive antifreeze in plumbing systems. It’s highly toxic and can contaminate water supplies. Only use non-toxic RV/marine antifreeze specifically designed for plumbing systems, which is typically pink in color.
Do I need to winterize if my outdoor sink is in a heated area?
If your outdoor sink is in a fully heated area that maintains temperatures above freezing at all times, you may not need to winterize. However, if there’s any chance the temperature could drop below freezing—even during a power outage—winterization is recommended as a precaution.
When should I winterize my outdoor sink?
Winterize your outdoor sink before the first hard freeze in your area. In most northern regions, this means completing the process by late October or early November. Check your local weather forecasts and plan to winterize when overnight temperatures begin consistently dropping below 40°F (4°C).
What if I forget to winterize and the pipes freeze?
If you suspect your pipes have frozen, shut off the water supply immediately and call a professional plumber. Do not attempt to thaw frozen pipes with an open flame, as this can cause pipes to burst or create fire hazards. A professional can safely thaw the pipes and assess any damage.