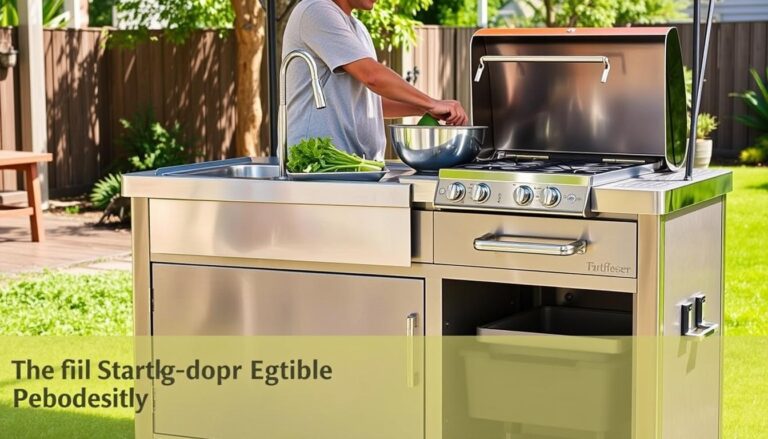
How to Drain an Outdoor Sink: A Complete DIY Guide
In this comprehensive guide, we’ll walk you through everything you need to know about keeping your outdoor sink draining smoothly. From basic maintenance to troubleshooting common issues, you’ll learn practical solutions that can save you time, money, and the frustration of dealing with a clogged or damaged sink.
Why Proper Drainage Matters for Outdoor Sinks
Proper drainage isn’t just about convenience—it’s crucial for the longevity and functionality of your outdoor sink. Unlike indoor plumbing, outdoor sinks face unique challenges that make drainage particularly important:
Preventing Water Damage
Standing water around your outdoor sink can damage your patio, deck, or the structure supporting your sink. Over time, this moisture can lead to rot, mold, and structural weakening.
Avoiding Freezing and Pipe Damage
In colder climates, water left in pipes can freeze and expand, potentially cracking your plumbing. Proper drainage is essential for winterizing your outdoor sink and preventing costly repairs come spring.
Eliminating Breeding Grounds for Pests
Stagnant water attracts mosquitoes and other pests. Good drainage helps keep your outdoor living space more comfortable and hygienic.
Preventing Unpleasant Odors
Food particles and debris can accumulate in poorly draining sinks, leading to foul smells that can make your outdoor area less enjoyable.
Tools and Materials You’ll Need
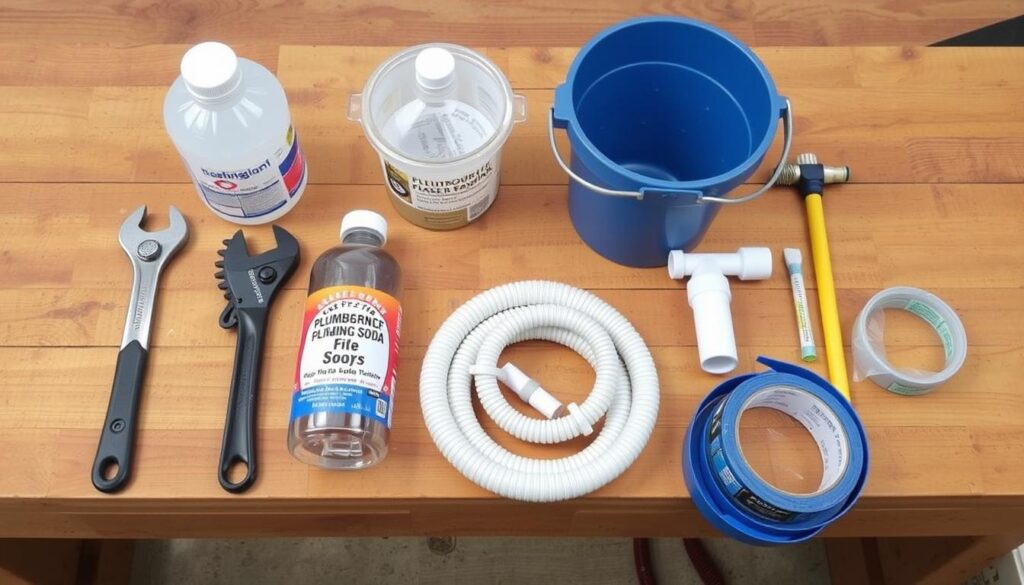
Before you begin working on your outdoor sink drainage, gather these essential tools and materials to make the job easier and more efficient:
Basic Tools
- Adjustable wrench
- Plumber’s snake or auger
- Bucket (5-gallon recommended)
- Pliers
- Flashlight
- Gloves (waterproof)
Cleaning Supplies
- White vinegar
- Baking soda
- Pipe brush
- Biodegradable dish soap
- Old toothbrush
- Drain strainer
Replacement Parts
- Plumber’s tape
- Replacement P-trap (if needed)
- PVC pipe sections
- Pipe fittings
- Drain cover
- Pipe insulation (for cold climates)
Need Quality Plumbing Tools?
Having the right tools makes any plumbing job easier. Check out our recommended plumbing toolkit that includes everything you need for outdoor sink maintenance.
Step-by-Step Instructions: How to Drain an Outdoor Sink
Follow these comprehensive steps to properly drain your outdoor sink and address common drainage issues. Each step is important for ensuring your sink functions properly throughout the year.
1. Turn Off the Water Supply
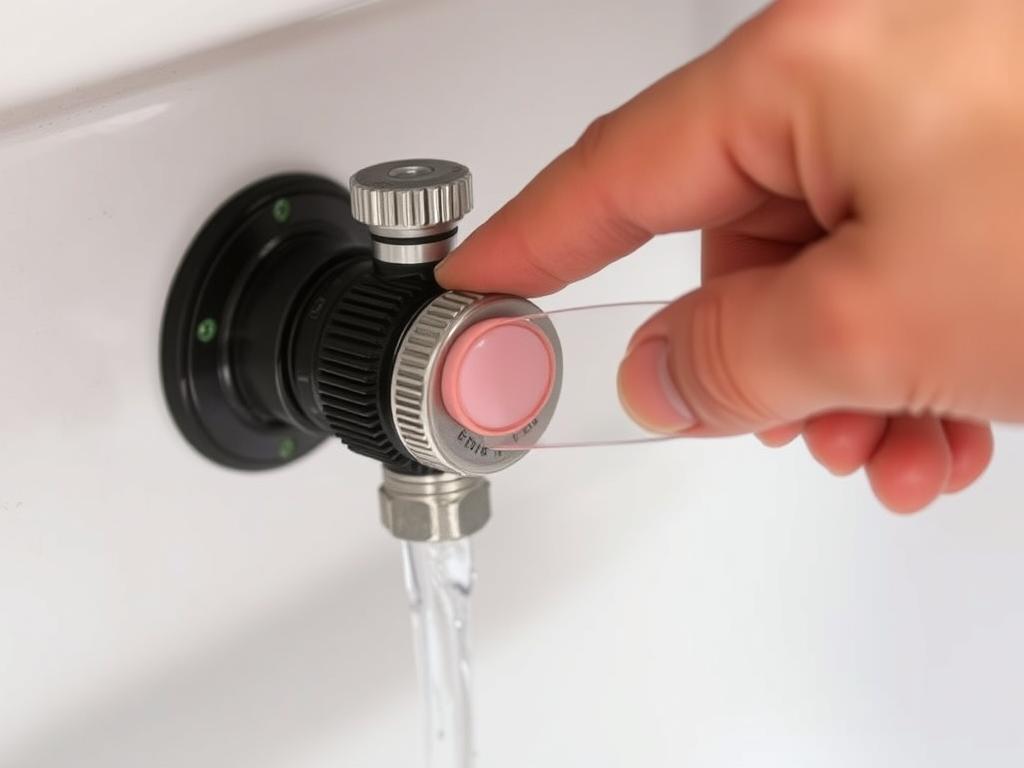
Before beginning any work on your outdoor sink, always turn off the water supply to prevent unexpected water flow while you’re working.
- Locate the shut-off valve for your outdoor sink. This is typically found along the supply line leading to the sink or near your home’s main water supply.
- Turn the valve clockwise until it stops to completely shut off the water flow.
- Open the sink faucet to release any water pressure and drain remaining water from the lines.
2. Remove Debris from the Drain
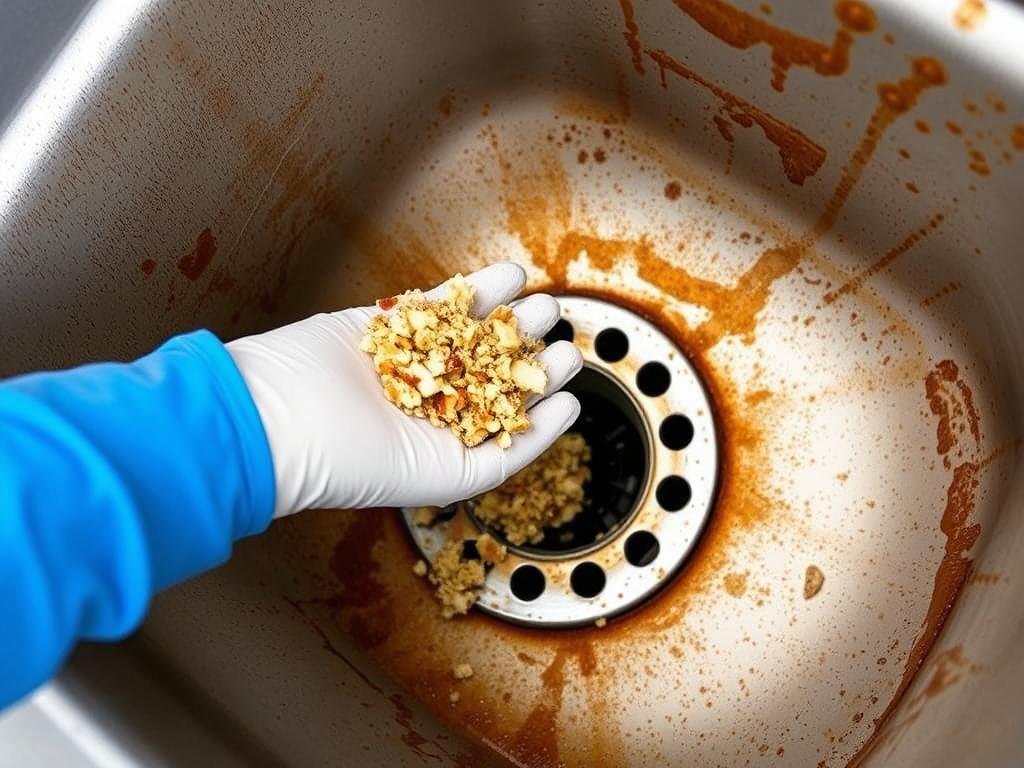
The first step in addressing drainage issues is removing any visible debris that might be causing blockages.
- Put on your waterproof gloves to protect your hands.
- Remove any visible debris from the drain opening using your fingers or pliers.
- For sinks with a strainer basket, unscrew and remove it to access deeper debris.
- Use the old toothbrush to scrub around the drain opening, removing any stuck-on grime.
3. Use Natural Cleaners to Break Down Grime
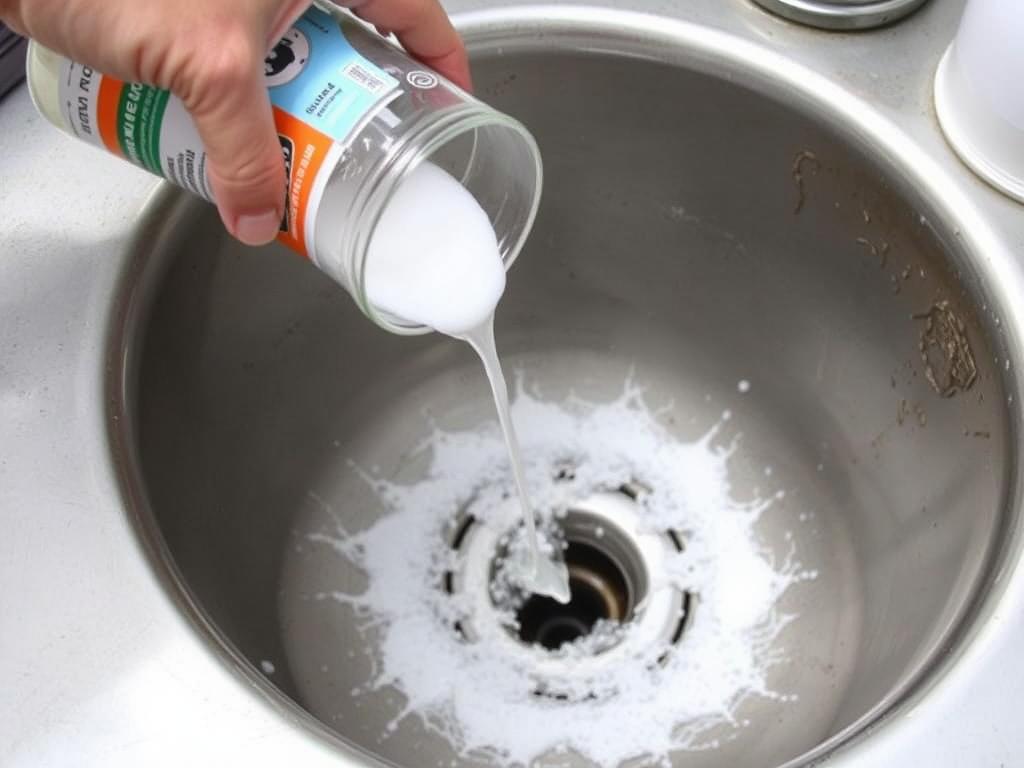
Natural cleaners can effectively break down grease and organic matter without damaging your plumbing or the environment.
- Pour 1/2 cup of baking soda directly into the drain.
- Follow with 1 cup of white vinegar.
- The mixture will fizz and bubble as it works to dissolve buildup.
- Let the solution work for 30 minutes.
- Boil a kettle of water and carefully pour it down the drain to flush away the loosened debris and cleaning solution.
Pro Tip: For outdoor sinks, use eco-friendly cleaning solutions that won’t harm your plants or soil if they drain into your yard. Avoid harsh chemical cleaners that can damage your plumbing and the environment.
4. Disassemble and Clean the P-Trap
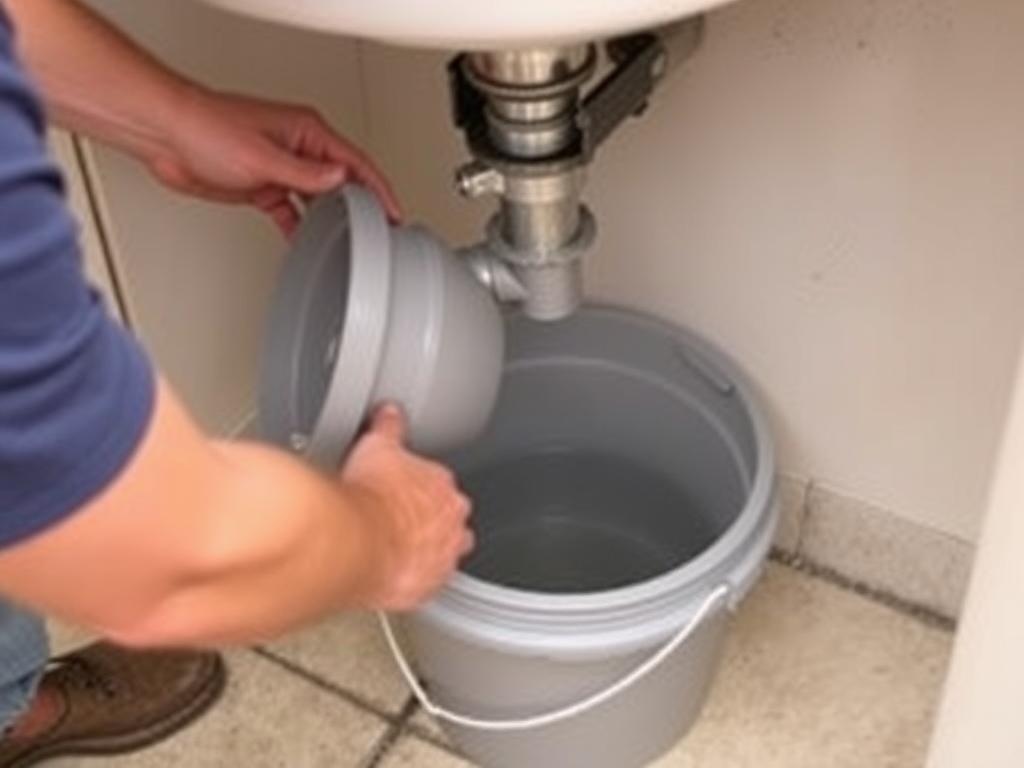
The P-trap is a curved section of pipe under your sink that often collects debris and causes clogs. Cleaning it regularly can prevent many drainage issues.
- Place a bucket under the P-trap to catch any water or debris that may fall out.
- Use an adjustable wrench to loosen the slip nuts at both ends of the P-trap. Turn counterclockwise to loosen.
- Carefully remove the P-trap and empty its contents into the bucket.
- Inspect the P-trap for damage or excessive corrosion. If it’s damaged, replace it with a new one.
- Use a pipe brush to clean the inside of the P-trap thoroughly.
- Rinse the P-trap with clean water.
- Reassemble the P-trap, making sure the connections are tight but not over-tightened.
Safety Warning: Never use excessive force when tightening plumbing connections. Hand-tight plus a quarter turn with a wrench is usually sufficient. Over-tightening can crack fittings and cause leaks.
5. Flush the System with Water
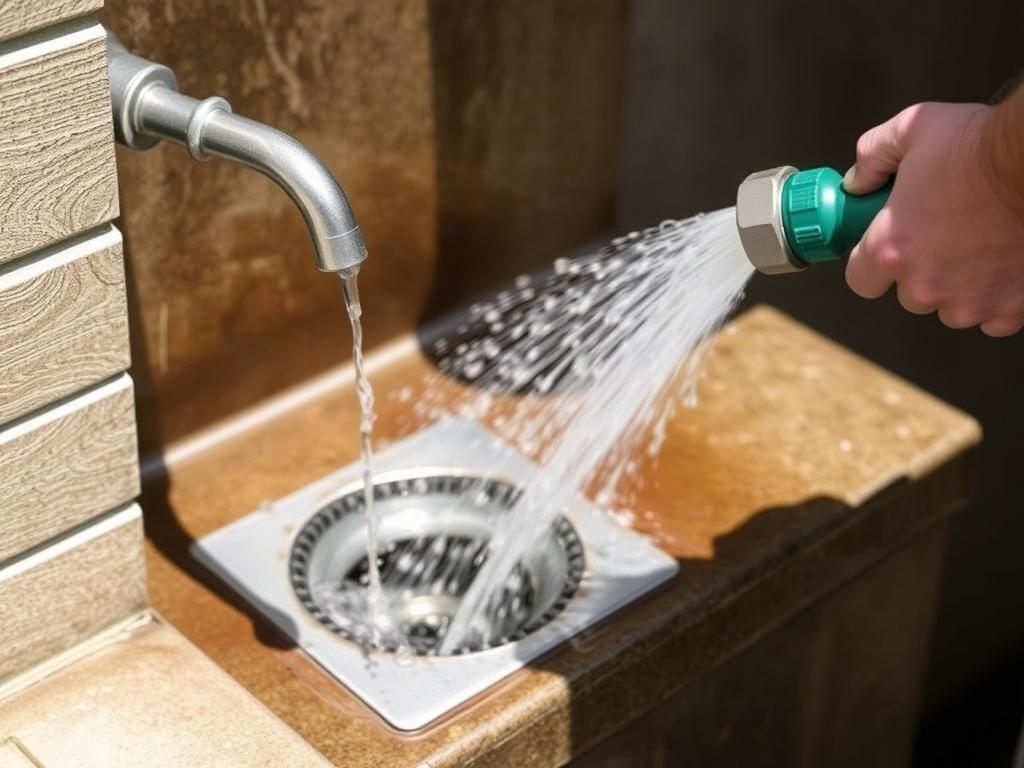
After cleaning, it’s important to thoroughly flush the system to ensure all debris and cleaning solutions are removed.
- Turn the water supply back on.
- Run water through the sink for 2-3 minutes at full pressure.
- Watch for any leaks around the P-trap connections and tighten if necessary.
- Observe how quickly the water drains. It should flow freely without backing up.
Understanding Outdoor Sink Drainage Options
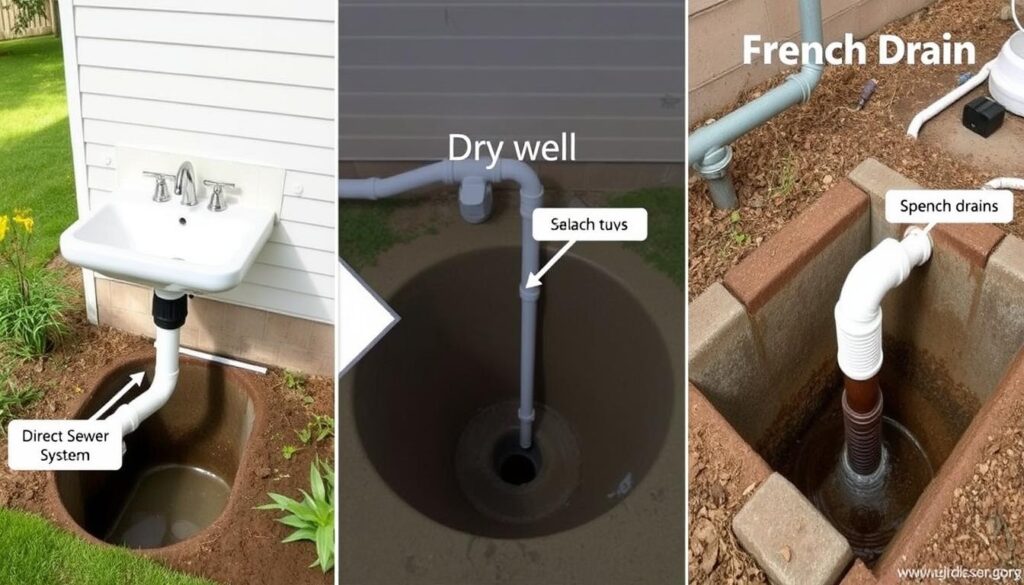
Depending on your outdoor setup, there are several ways to drain an outdoor sink. Understanding these options can help you troubleshoot issues or improve your current drainage system.
Direct Sewer Connection
This is the most conventional method, connecting your outdoor sink directly to your home’s sewer system.
Pros
- Handles high water volume
- Works with hot water
- Most reliable in all weather
Cons
- Requires professional installation
- More expensive option
- May need permits
Dry Well System
A dry well is an underground structure that disperses water into the surrounding soil.
Pros
- Eco-friendly solution
- Can be DIY installed
- Good for areas without sewer access
Cons
- Not suitable for all soil types
- May not be code-compliant everywhere
- Not ideal for food waste
French Drain
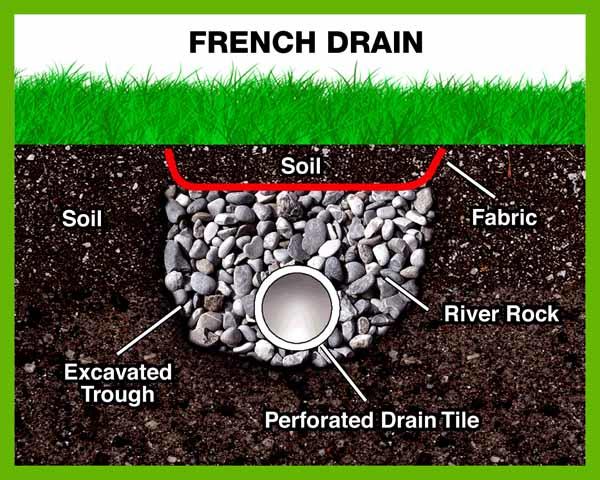
A French drain uses a perforated pipe in a gravel-filled trench to distribute water away from the sink.
Pros
- Relatively easy DIY project
- Handles moderate water volume
- Can be integrated with landscaping
Cons
- May not be code-compliant
- Not suitable for food waste
- Can clog over time
Important: Always check local building codes before installing any drainage system. Many municipalities have specific requirements for how outdoor sinks must drain, especially if you’ll be using them for food preparation.
Troubleshooting Common Outdoor Sink Drainage Issues
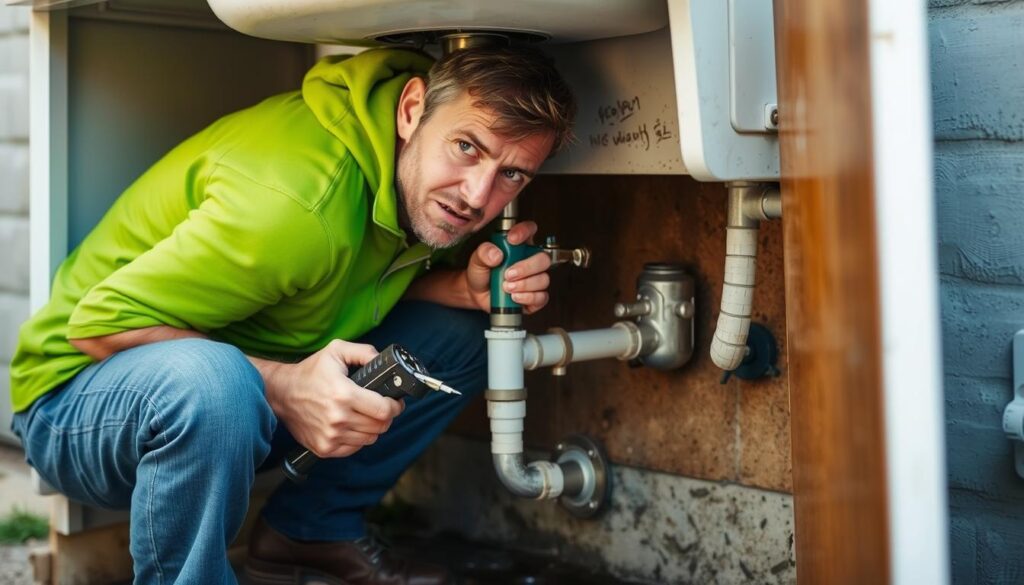
Even with regular maintenance, outdoor sinks can develop drainage problems. Here’s how to address the most common issues:
Slow Drainage
If water takes longer than usual to drain from your sink, you likely have a partial clog.
- Try a plunger first: A few vigorous plunges can dislodge minor clogs.
- Use a plumber’s snake: Feed the snake into the drain until you meet resistance, then rotate to break up the clog.
- Check for pipe slope issues: Drainage pipes should have a slight downward slope (about ¼ inch per foot) to allow proper water flow.
Foul Odors
Unpleasant smells often indicate trapped food particles or a dry P-trap.
- Refill the P-trap: If your sink hasn’t been used in a while, the water seal in the P-trap may have evaporated. Run water for 30 seconds to refill it.
- Deep clean with baking soda and vinegar: As described in the cleaning section, this can eliminate odor-causing bacteria.
- Check for improper venting: Without proper venting, sewer gases can back up into your sink.
Frozen Pipes in Winter
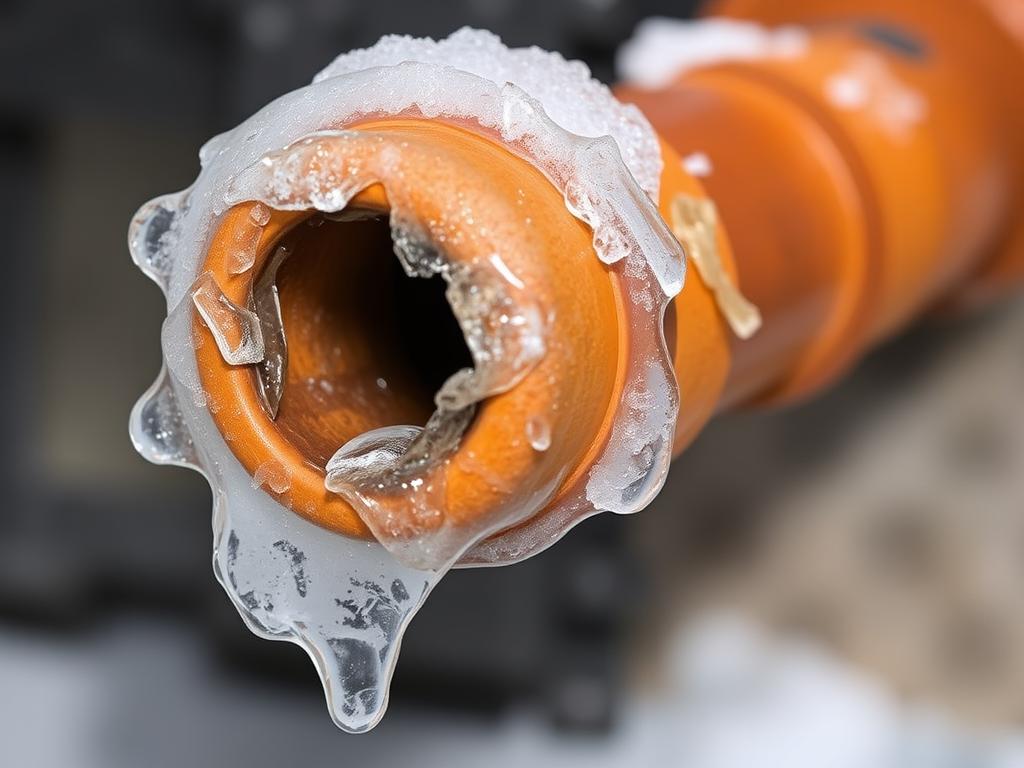
In colder climates, frozen pipes can cause serious damage to your outdoor sink system.
- Thaw frozen pipes carefully: Use a hairdryer on low setting or wrap pipes with warm towels. Never use open flames.
- Check for damage: Once thawed, look for cracks or leaks that may have occurred due to freezing.
- Prevent future freezing: Properly winterize your sink before freezing temperatures arrive (see winterizing section below).
Need Professional Help?
Some drainage issues require professional expertise. If you’re dealing with persistent problems or need help installing a code-compliant drainage system, consider consulting with a licensed plumber.
Winterizing Your Outdoor Sink
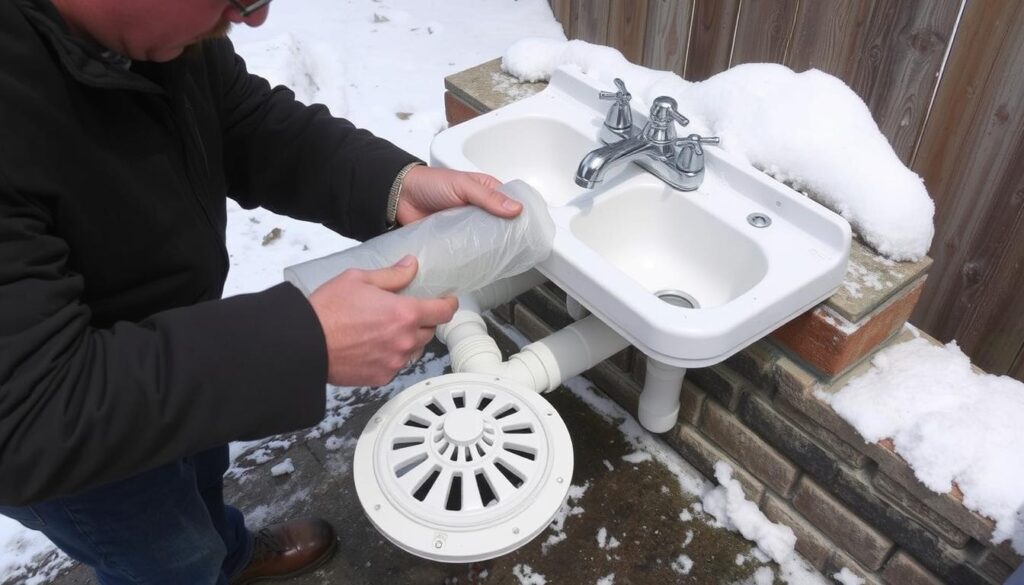
If you live in an area that experiences freezing temperatures, properly winterizing your outdoor sink is crucial to prevent damage. Follow these steps before the first freeze:
Step 1: Shut Off and Drain Water Lines
- Turn off the water supply to your outdoor sink at the shut-off valve.
- Open the faucet to drain any remaining water in the lines.
- Keep the faucet open throughout winter to prevent pressure buildup.
Step 2: Remove and Store Removable Parts
- If possible, remove the faucet and store it indoors.
- Remove any drain strainers or baskets and store them indoors.
Step 3: Protect Fixed Components
- Disconnect the P-trap and drain it completely.
- Use compressed air to blow out any water remaining in the pipes.
- Apply pipe insulation to any exposed pipes that cannot be drained.
- Cover the sink basin with a weatherproof sink cover.
Step 4: Add Antifreeze (Optional)
- Pour RV antifreeze (NOT automotive antifreeze) into the drain.
- This provides extra protection for traps and pipes that cannot be fully drained.
Reminder: Mark your calendar to winterize your outdoor sink before the first freeze each year. It’s much easier to prevent damage than to repair frozen and burst pipes.
Preventative Maintenance Tips for Outdoor Sink Drainage
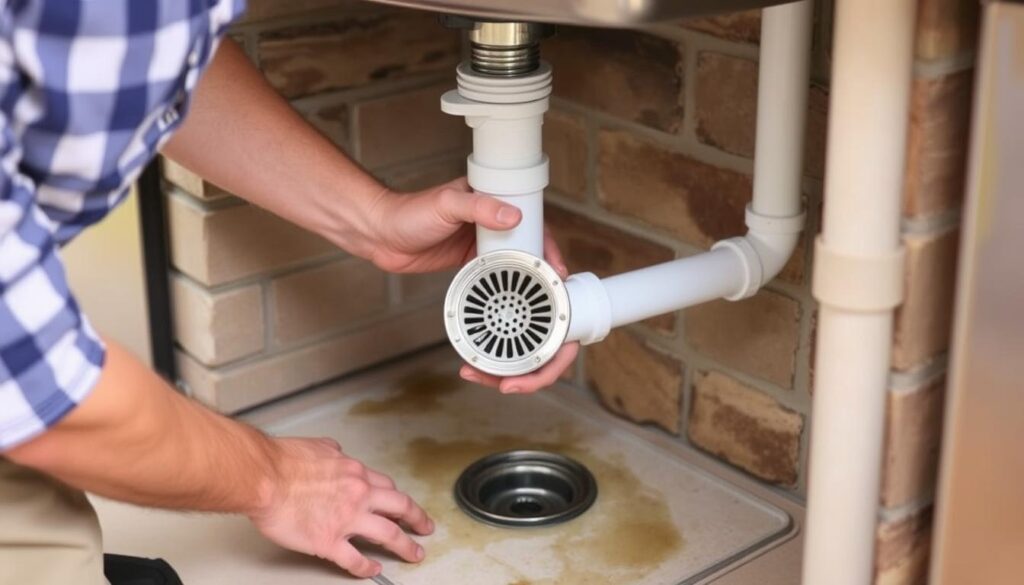
Regular maintenance is the key to preventing drainage issues with your outdoor sink. Incorporate these practices into your routine to keep your sink flowing freely:
Weekly Maintenance
- Rinse the sink thoroughly after each use.
- Clean the drain strainer to remove food particles and debris.
- Wipe down the sink basin to prevent staining and buildup.
- Pour hot water down the drain to help flush away light grease and soap residue.
Monthly Maintenance
- Perform the baking soda and vinegar cleaning treatment.
- Check all visible pipes and connections for leaks or corrosion.
- Tighten any loose fittings.
- Clear debris from around the sink area that could fall into the drain.
Seasonal Maintenance
- Inspect the entire drainage system for damage.
- Clean out the P-trap thoroughly.
- Check that drainage slopes are maintained and haven’t shifted.
- Prepare for seasonal changes (winterizing in fall, thorough cleaning in spring).
Best Practices for Preventing Clogs
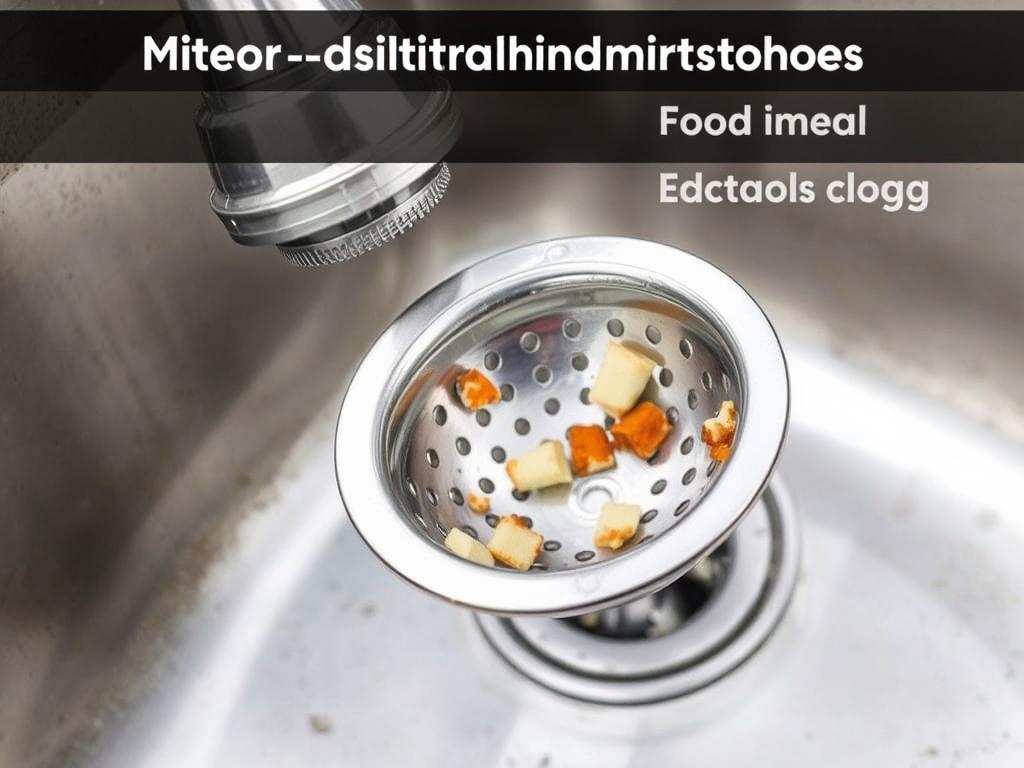
- Use a drain strainer: Always keep a quality drain strainer in place to catch food particles and debris before they enter your plumbing.
- Avoid disposing of grease: Never pour cooking oil or grease down your outdoor sink. It solidifies in pipes and causes stubborn clogs.
- Scrape plates thoroughly: Remove as much food waste as possible before washing dishes in your outdoor sink.
- Flush with hot water: After each use, run hot water for 15-30 seconds to help move any residue through the pipes.
Upgrade Your Drain Protection
A high-quality drain strainer is your first line of defense against clogs. Our stainless steel mesh strainers are designed specifically for outdoor sinks and catch even the smallest particles.
Eco-Friendly Considerations for Outdoor Sink Drainage
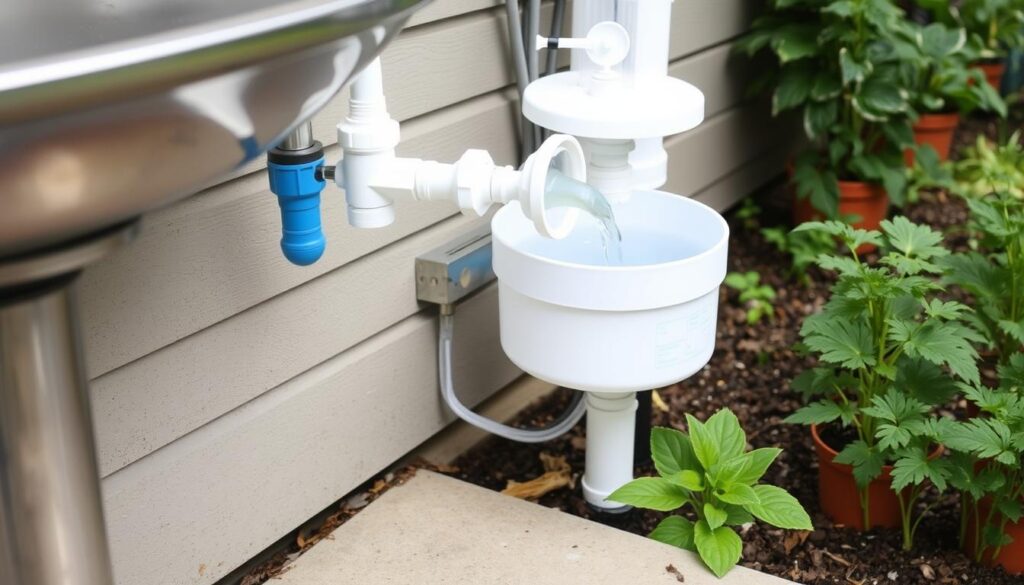
With growing environmental awareness, many homeowners are looking for eco-friendly ways to handle their outdoor sink drainage. Here are some sustainable options to consider:
Greywater Recycling
Greywater is the relatively clean wastewater from sinks that can be recycled for other uses like irrigation.
- Simple diversion systems: Direct sink water to nearby plants or garden areas.
- Filtration systems: Install basic filters to remove soap and food particles before the water reaches your garden.
- Important considerations: Use biodegradable, plant-friendly soaps and avoid washing anything toxic down the sink.
Rain Garden Integration
A rain garden is a planted depression that allows rainwater and runoff to be absorbed into the ground.
- Drain to a rain garden: Direct your sink drainage to a specially designed rain garden area.
- Plant selection: Choose plants that can handle both wet and dry conditions and help filter impurities.
- Proper design: Ensure the garden is positioned at least 10 feet from your home’s foundation.
“When designed properly, outdoor sink drainage can be an asset to your landscape rather than a problem to solve. Think of that water as a resource, not waste.”
Conclusion: Maintaining Your Outdoor Sink Drainage
Properly maintaining your outdoor sink drainage doesn’t have to be complicated. With regular attention and the right approach, you can prevent most common issues before they start. Remember these key takeaways:
- Regular maintenance is crucial: Small, consistent efforts prevent big problems.
- Use the right tools: Having basic plumbing tools on hand makes maintenance easier.
- Be proactive about seasonal changes: Especially in areas with freezing temperatures, winterizing is essential.
- Consider eco-friendly options: Your sink drainage can be integrated with your landscape in sustainable ways.
- Know when to call a professional: Some issues require expert help, and that’s okay.
By following the steps and advice in this guide, you’ll be able to keep your outdoor sink draining properly for years to come. This means more time enjoying your outdoor space and less time dealing with plumbing problems.the
Frequently Asked Questions
How often should I clean my outdoor sink drain?
For regular maintenance, flush your outdoor sink drain with hot water weekly. Perform a deeper cleaning with baking soda and vinegar monthly, and clean out the P-trap seasonally or whenever you notice slow drainage.
Can I connect my outdoor sink to my home’s sewer system?
Yes, you can connect your outdoor sink to your home’s sewer system, but this typically requires professional installation and may need permits depending on your local building codes. This is often the most reliable drainage solution but also the most expensive.
What’s the simplest drainage solution for an outdoor sink?
A dry well or French drain system is relatively simple to install for DIYers. However, the simplest solution that requires no installation is a bucket placed under the sink drain to collect water, which you then empty manually. This is only practical for very occasional use.
How do I know if my outdoor sink drainage is code-compliant?
Contact your local building department or a licensed plumber to determine what drainage options are code-compliant in your area. Many municipalities have specific requirements, especially if you’ll be using the sink for food preparation.
Can I use chemical drain cleaners in my outdoor sink?
It’s best to avoid harsh chemical drain cleaners in outdoor sinks. They can damage pipes, harm the environment, and may not be suitable for your drainage system (especially if you use a dry well or French drain). Stick to natural cleaners like baking soda and vinegar.

