How to Connect an Outdoor Sink with a Faucet: A DIY Guide
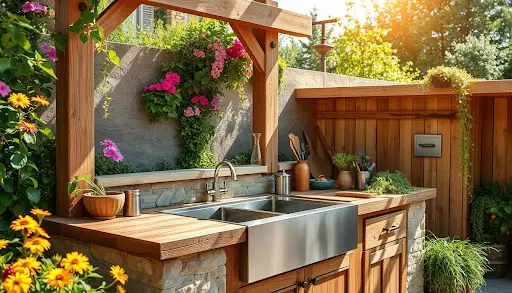
Looking for how to connect an outdoor sink with a faucet without hiring a plumber? You’re in the right place. An outdoor sink is one of the most practical upgrades for backyards, patios, and outdoor kitchens—it makes cooking, cleaning, and gardening much easier. The good news is, with the right tools and a step-by-step approach, you can set up your own sink and faucet as a simple DIY project. In this guide, we’ll walk you through everything from choosing the right faucet and water supply connection to installing the drain system so that you can enjoy a fully functional outdoor sink in no time.
Tools and Materials You’ll Need
Before getting started, gather all the necessary tools and materials. Having everything on hand will make the installation process smoother and help you avoid multiple trips to the hardware store.
Tools:
- Adjustable wrench
- Groove-joint pliers
- Level
- Drill with bits (if mounting sink)
- Tape measure
- Utility knife
- Screwdriver set
- Hole saw (if cutting through countertop)
Materials:
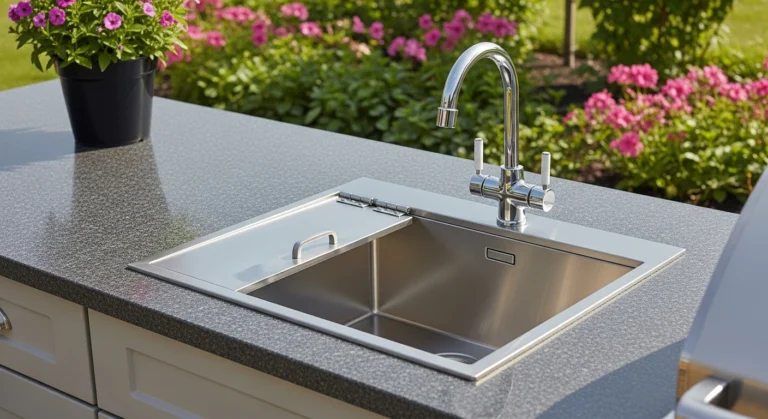
- Outdoor sink (stainless steel recommended)
- Outdoor-rated faucet
- Faucet connector (12″ – 1/2″ FIP to 3/8″ COMP)
- Straight plumbing connector (1/2″ MIP to 3/8″ OD)
- Brass hose connector (double female swivel)
- Y-splitter for outdoor spigot
- 6′ leader hose
- Teflon tape
- Plumber’s putty
- PVC pipe and fittings (for drainage)
- Sink trap
- Bucket or container (for gray water collection)
- Gravel (if creating a dry well)

Preparing for Installation
Proper preparation ensures your outdoor sink installation goes smoothly and functions correctly for years to come.
Choose the Right Location
Select a spot that’s convenient for your needs but also practical for water supply and drainage. Consider proximity to your existing outdoor water spigot and ensure there’s enough space for comfortable use. The area should be level and stable enough to support the sink when filled with water.

Check Local Building Codes
Before starting your project, check with your local building department about any permits or specific requirements for outdoor plumbing. Some areas have restrictions on gray water disposal or may require professional installation for certain components.
Important: If you’re planning to connect to your home’s main plumbing system rather than using a garden hose connection, you’ll likely need a permit and should consult a licensed plumber.
Step-by-Step Installation Guide
Follow these steps carefully to connect your outdoor sink with a faucet. Take your time with each step to ensure proper installation and prevent leaks.
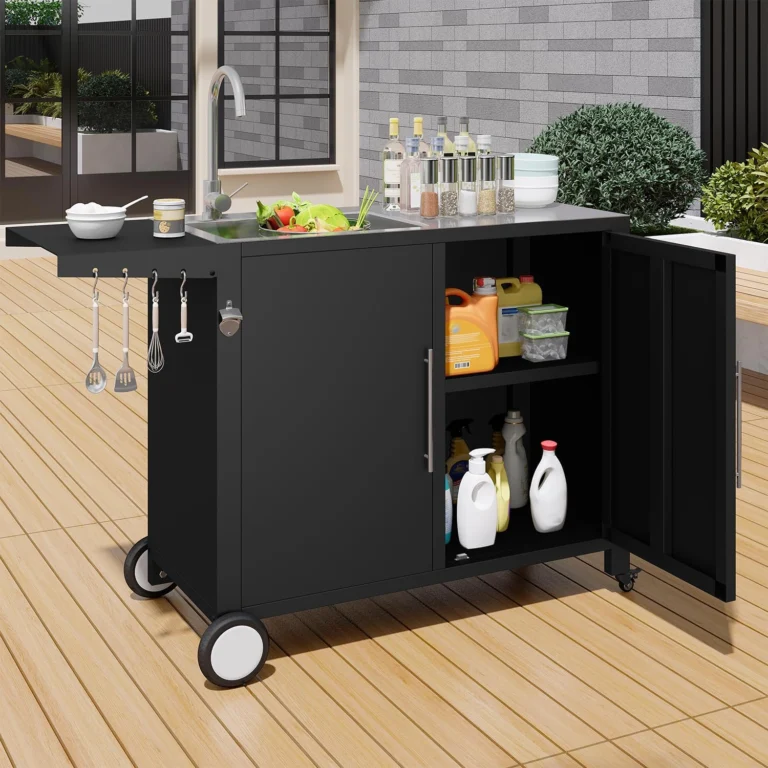
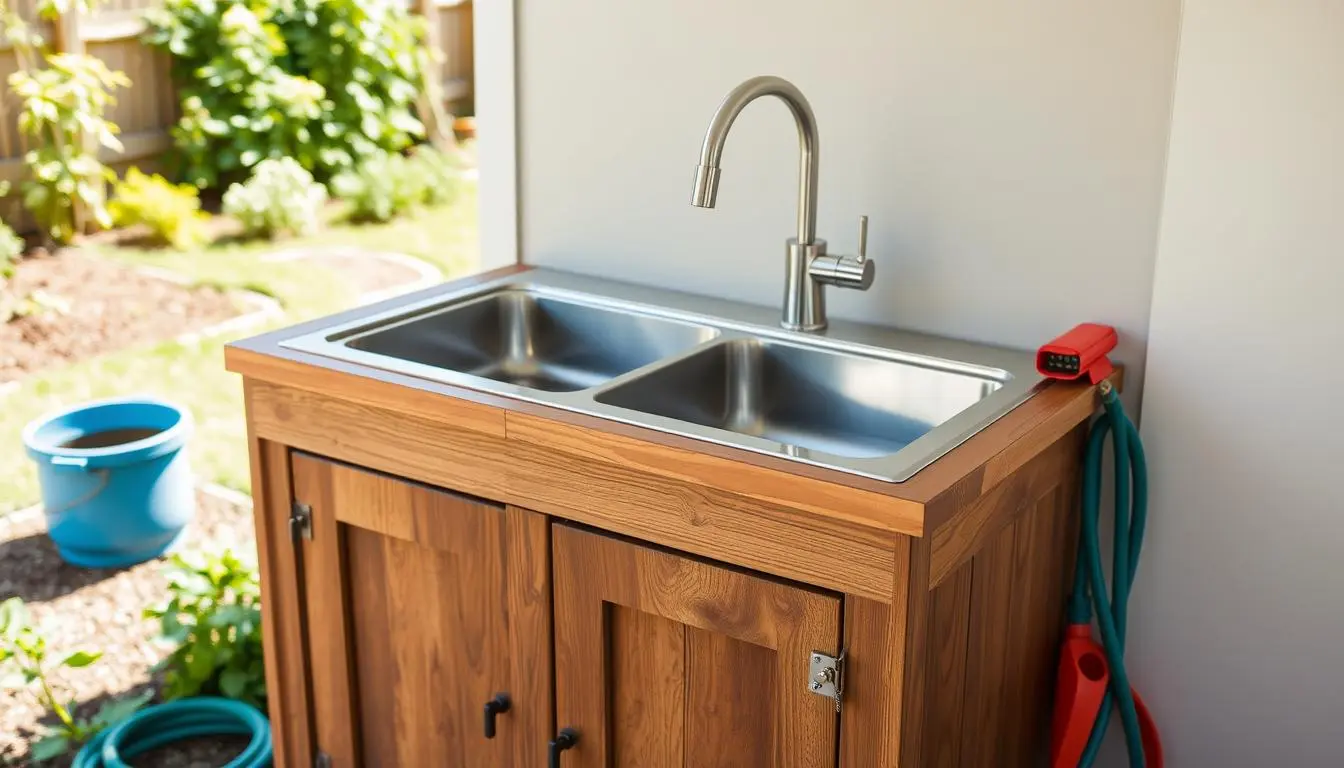
Step 1: Mount the Sink
If your sink isn’t part of a pre-built outdoor kitchen unit, you’ll need to mount it securely. Install the sink into your countertop or cabinet according to the manufacturer’s instructions. Use a level to ensure the sink is perfectly horizontal for proper drainage.

Step 2: Install the Faucet
Before placing the sink, install the faucet onto it. Apply plumber’s putty around the faucet base if recommended by the manufacturer. Insert the faucet through the holes in the sink and secure it from underneath with the included mounting hardware. Tighten with an adjustable wrench, being careful not to overtighten.

Step 3: Connect the Water Supply
For a simple garden hose connection (most common for outdoor sinks):
- Apply Teflon tape to the threaded (male) ends of all connections to prevent leaks.
- Remove the compression nut and brass ferrule from the straight connector (these parts won’t be needed).
- Connect the brass hose connector to the straight connector.
- Attach the faucet connector (water supply line) to the narrow end of the straight connector.
- Connect the faucet connector to the cold water inlet on your faucet.
- Install a Y-splitter on your outdoor spigot.
- Connect one end of the leader hose to the Y-splitter and the other end to the brass hose connector.
For cold water only: Connect just to the cold water handle on your faucet. If your faucet has both hot and cold handles, you can cap off the hot water inlet or connect both to the same water source so either handle will work.
Step 4: Set Up the Drainage System
You have several options for draining your outdoor sink:
Option A: Bucket Collection (Simplest)
Install a standard sink trap under the drain. Place a bucket beneath to collect gray water, which you can later use for watering non-edible plants.
Option B: Create a Dry Well (Recommended)
- Dig a hole about 10 feet away from your home, sloping slightly downward from the sink.
- Dig a trench from the sink to the hole, maintaining a downward slope of about ¼ inch per foot.
- Take a large plastic bucket or garbage can and drill multiple ½-inch holes in it.
- Place the bucket in the hole with its top about 2 inches below ground level.
- Cut a hole in the bucket for the drain pipe to enter.
- Run PVC drain pipe from the sink trap through the trench and into the bucket.
- Fill the bucket with coarse gravel for filtration.
- Cover the gravel with landscape fabric and add soil on top.
Testing and Troubleshooting
After completing the installation, it’s crucial to test your outdoor sink thoroughly to identify and fix any issues.
Testing for Leaks
Turn on the water supply and check all connections for leaks. Pay special attention to:
- The faucet base, where it meets the sink
- All hose connections and adapters
- Drain connections under the sink
- Trap assembly
If you find any leaks, tighten connections slightly or add more Teflon tape as needed. For persistent leaks, disassemble the connection, clean the threads, apply new Teflon tape, and reconnect.

Check Drainage
Fill the sink with water and then drain it, observing how quickly and completely it empties. If drainage is slow:
- Ensure the sink is level
- Check that the drainpipe has adequate slope
- Verify that the trap is properly installed
- Make sure the dry well or drainage system isn’t clogged
Pro Tips and Maintenance
Keep your outdoor sink functioning properly with these professional tips and regular maintenance.
Winterizing Your Outdoor Sink
In regions with freezing temperatures, winterize your sink to prevent damage:
- Disconnect the water supply hose and drain it completely
- Open the faucet to drain any remaining water
- Pour RV antifreeze down the drain to protect the trap
- Cover the sink with a weatherproof cover for protection

Common Troubleshooting
| Problem | Possible Cause | Solution |
| Low water pressure | A kink in the supply hose or a partially closed valve | Check the hose for kinks and ensure the valve is fully open |
| Leaking connections | Insufficient Teflon tape or loose fittings | Apply more Teflon tape and tighten connections |
| Slow drainage | Insufficient slope or clogged trap | Adjust pipe slope or clean trap |
| Faucet dripping | Worn washer or loose parts | Replace the washer or tighten the faucet components |
Regular Maintenance
To keep your outdoor sink in top condition:
- Clean the sink regularly with an appropriate cleaner for its material
- Check connections for leaks monthly during regular use
- Clear the drain trap of debris periodically
- Inspect hoses for cracks or wear and replace as needed
- If using a dry well, check that drainage remains effective

Conclusion
Installing an outdoor sink with a faucet is a rewarding DIY project that adds significant functionality to your outdoor space. By following this guide, you’ve learned how to connect the water supply, set up proper drainage, and maintain your new installation. With basic tools and materials, you’ve created a convenient outdoor washing station that will serve you well for years to come.
Remember to check local regulations regarding outdoor plumbing and gray water disposal, and don’t hesitate to consult a professional for more complex installations. With your new outdoor sink, you’ll enjoy the convenience of outdoor washing without tracking dirt and garden debris into your home.

Frequently Asked Questions
Do I need a permit to install an outdoor sink?
It depends on your local building codes. If you’re simply connecting to an existing outdoor spigot with a garden hose and using a bucket or dry well for drainage, you typically don’t need a permit. However, if you’re connecting to your home’s main plumbing system or installing permanent water lines, you’ll likely need permits and possibly professional installation.
Can I use hot water in my outdoor sink?
For a simple garden hose setup as described in this guide, you’ll only have cold water. To have hot water, you would need to connect to your home’s hot water supply or install an outdoor water heater, which typically requires professional installation and permits.
What’s the best material for an outdoor sink?
Stainless steel is the most popular choice for outdoor sinks because it’s durable, resistant to rust, and can withstand the elements. Other good options include composite granite, concrete, or ceramic sinks designed for outdoor use.
How do I prevent my outdoor sink from freezing in winter?
In cold climates, you should winterize your outdoor sink by disconnecting and draining all water lines, opening the faucet to release any trapped water, and pouring RV antifreeze down the drain to protect the trap. Consider covering the entire sink unit for additional protection.