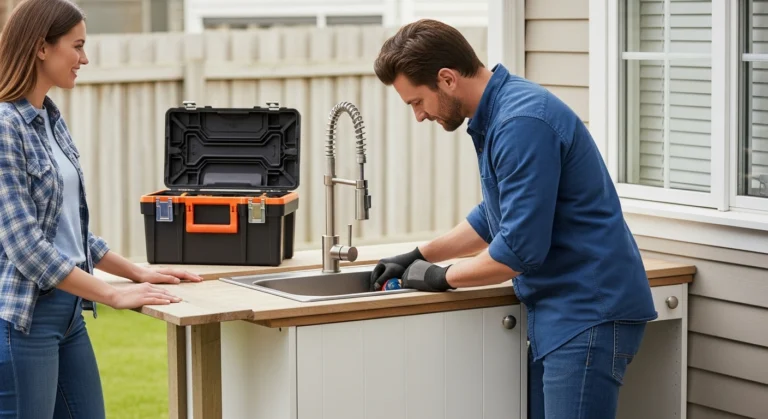
How to Build an Outdoor Sink in 2026- DIY Outdoor Sink
If you want a place to rinse veggies, wash paint brushes, or clean grill tools without messing up your indoor kitchen? A DIY outdoor sink is a smart, low-cost upgrade. This expert guide shows you how to plan, build, and maintain a homemade DIY outdoor sink—from a quick hose-fed setup to a more permanent outdoor sink station with hot/cold water and a proper drain.
You’ll get DIY outdoor sink ideas, a low budget DIY outdoor kitchen sink plan, and pro tips to avoid leaks, clogs, and code issues. Let’s get a DIY outdoor sink.
What You’ll Build + Quick Snapshot
- You’ll build a DIY outdoor sink station that’s durable, weather-aware, and easy to maintain.
- Time:
- Budget (typical US pricing):
- Low budget DIY outdoor kitchen sink: $60–$200
- Mid-range station: $200–$500
- Permanent hot/cold + code-compliant drain: $500–$1,500+
- Skill: Beginner to intermediate.
- Safety: Check local plumbing rules and call 811 before digging (for dry wells or drain lines).
Plan the Location and Check Rules
- Pick a spot near:
- Site factors:
- Slope for drainage (avoid low areas that puddle).
- Shade vs. sun (UV can age plastics; shade reduces algae).
- Splash zone (don’t face wood siding without a backsplash).
- Wind (avoid spraying back toward doors/windows).
- Rules and codes:
- Backflow protection is required for hose bibbs/faucets to protect drinking water.
- Graywater drainage may be regulated; avoid dumping greasy or chemical-laden water into soil.
- Hard-plumbed water lines and drains may require permits and inspections.
Pro tip: If you plan any trenching for drains, call 811 to locate utilities. It’s free and can prevent dangerous strikes.
Water Supply Options
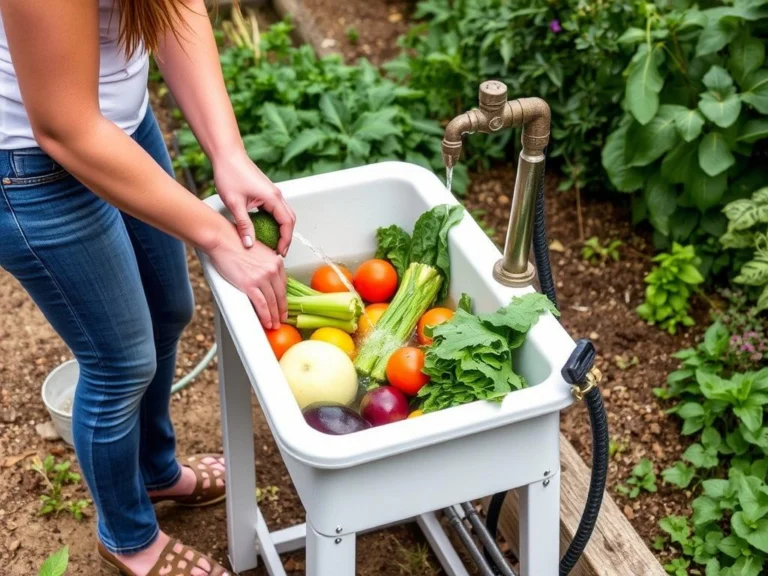
Easiest: Garden Hose Feed (Cold-Only)
- Parts:
- Hose-to-faucet adapter with vacuum breaker/anti-siphon device.
- Quick-connect fittings
- Basic cold-water faucet (or a hose bib mounted to your station).
- Pros:
- Fast, cheap, flexible.
- Cons:
- Cold-only; must disconnect and drain for winter in freezing climates.
- Tips:
- Use an anti-siphon vacuum breaker at the hose connection to prevent backflow.
- Add quick-connects so you can snap the sink on/off the spigot in seconds.
Upgraded: Hot/Cold via PEX Branch
- Run insulated PEX lines from indoor plumbing to the outdoor sink.
- Add shutoff valves and freeze-proof sill cocks where possible.
- Seal wall penetrations with sleeves and exterior plates; insulate exposed runs.
- Consider professional help for through-wall penetrations and code compliance.
Backflow & Pressure Basics
- Always install a vacuum breaker/backflow preventer at or near the water source.
- If you get banging pipes (water hammer), add arrestors or lower pressure at the spigot with a regulator.
Drainage Options
Temporary: Bucket Catch
- Sink strainer → tailpiece → P-trap → hose/tube into a sealed bucket.
- Pros: No digging or permits; empty the bucket into a proper drain.
- Cons: Must be emptied often; still use a trap to control odors.
- Add a mesh cup or strainer to catch food bits and prevent smells.
Semi-Permanent: Dry Well/Gravel Pit (Graywater)
- Dig a gravel pit (depth/size depends on soil; many use 1.5–3 ft deep and 2–3 ft wide for light use).
- Keep at least 10 ft from foundations and away from edible garden beds.
- Only use plant-safe soaps; no fats, oils, or chemicals.
- Note: Local rules vary—check first.
Permanent: Hard Drain Tie-In
- Connect to your home’s drain/vent system.
- Maintain 1/4″ per foot slope on horizontal drain runs.
- Include a P-trap and proper venting (or code-approved air admittance valve, where allowed).
- Likely requires a permit—when in doubt, hire a licensed plumber.
Materials and Tools
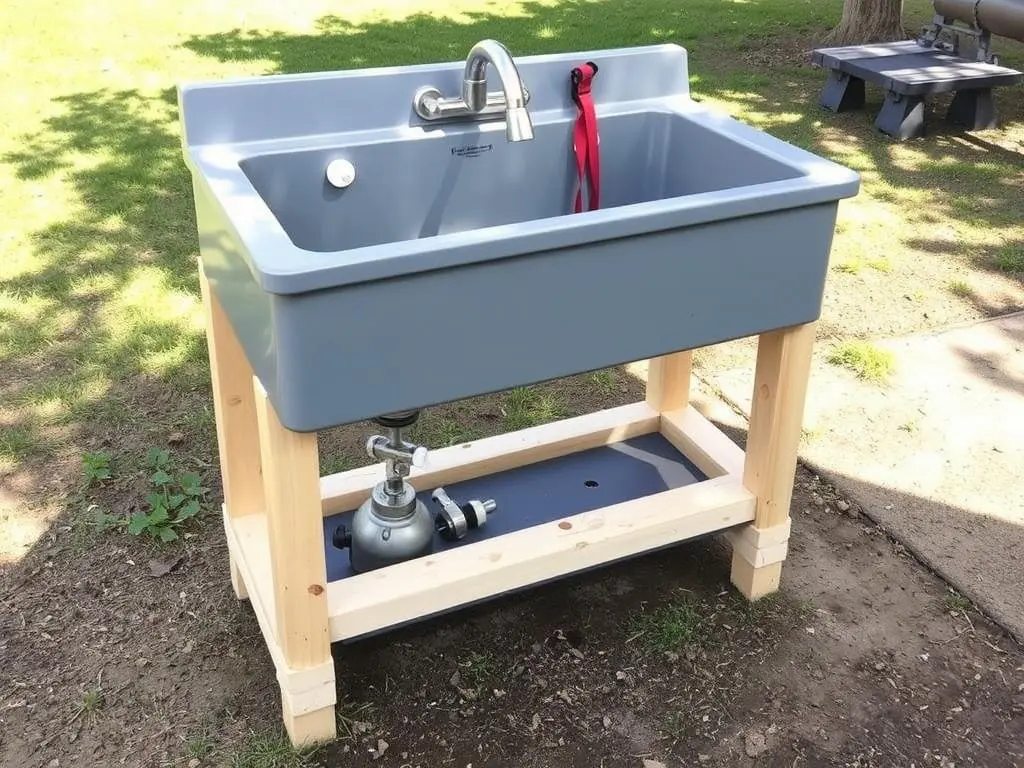
Low-Budget DIY Outdoor Kitchen Sink ($60–$200)
- Sink: plastic utility sink or small stainless bar sink.
- Frame: 2×4 lumber or pallet wood (weather-sealed).
- Faucet: basic cold tap or hose bib.
- Water: hose adapter + vacuum breaker + quick-connects.
- Drain: basket strainer, tailpiece, P-trap kit, flexible hose to bucket or dry well.
- Hardware: exterior screws, construction adhesive/silicone.
- Finish: exterior sealant for wood.
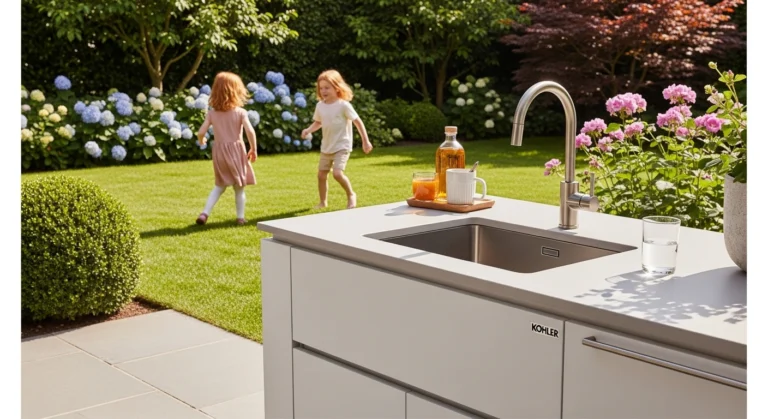
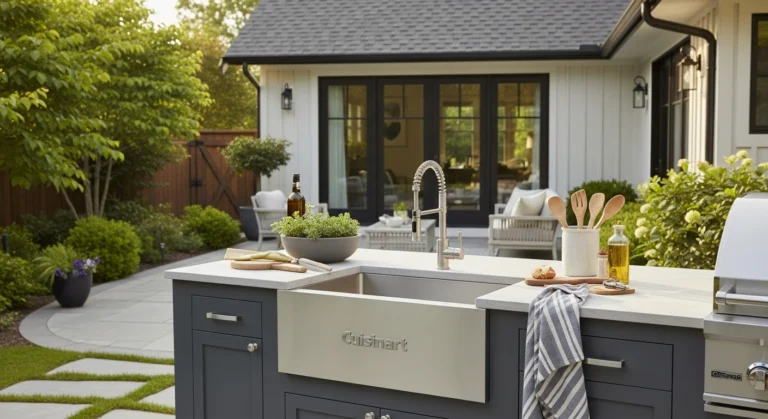
Mid-Range/Upgraded
- Sink: stainless drop-in with deeper basin.
- Faucet: pull-out sprayer.
- Counter: exterior-grade plywood with laminate or composite deck boards.
- Casters for portability; backsplash panel (e.g., metal sheet or PVC).
- GFCI-protected outlet (if adding pump, heater, or lighting).
Tools
- Measuring tape, square, pencil.
- Circular saw or miter saw.
- Drill/driver + hole saw (for faucet/sink).
- Adjustable wrench/pipe wrench.
- Safety gear: eye/ear protection, gloves.
- Exterior wood sealant/brush.
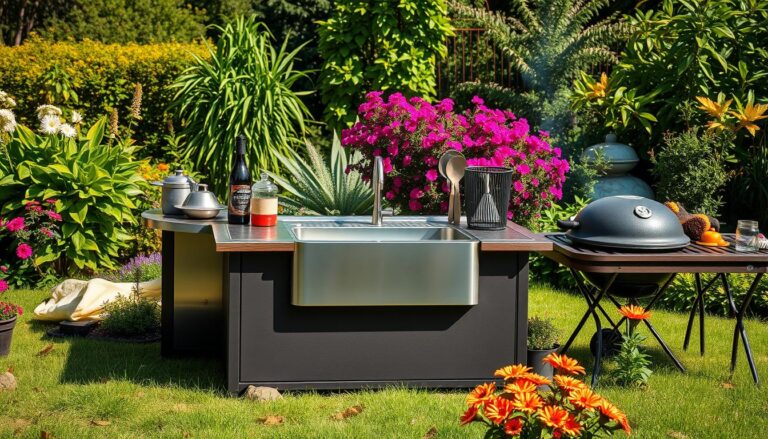
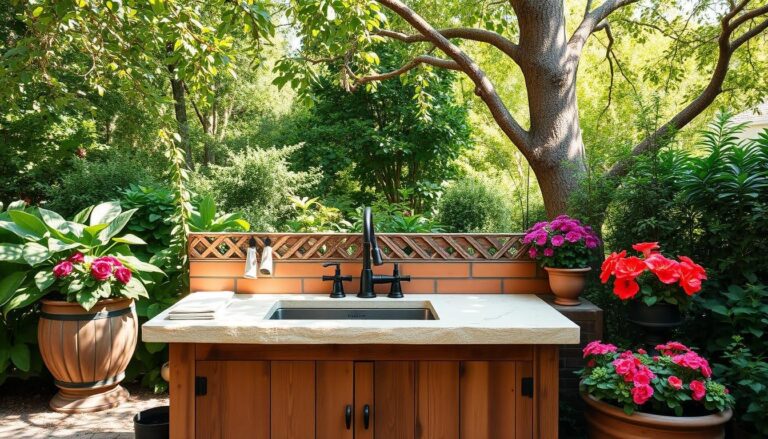
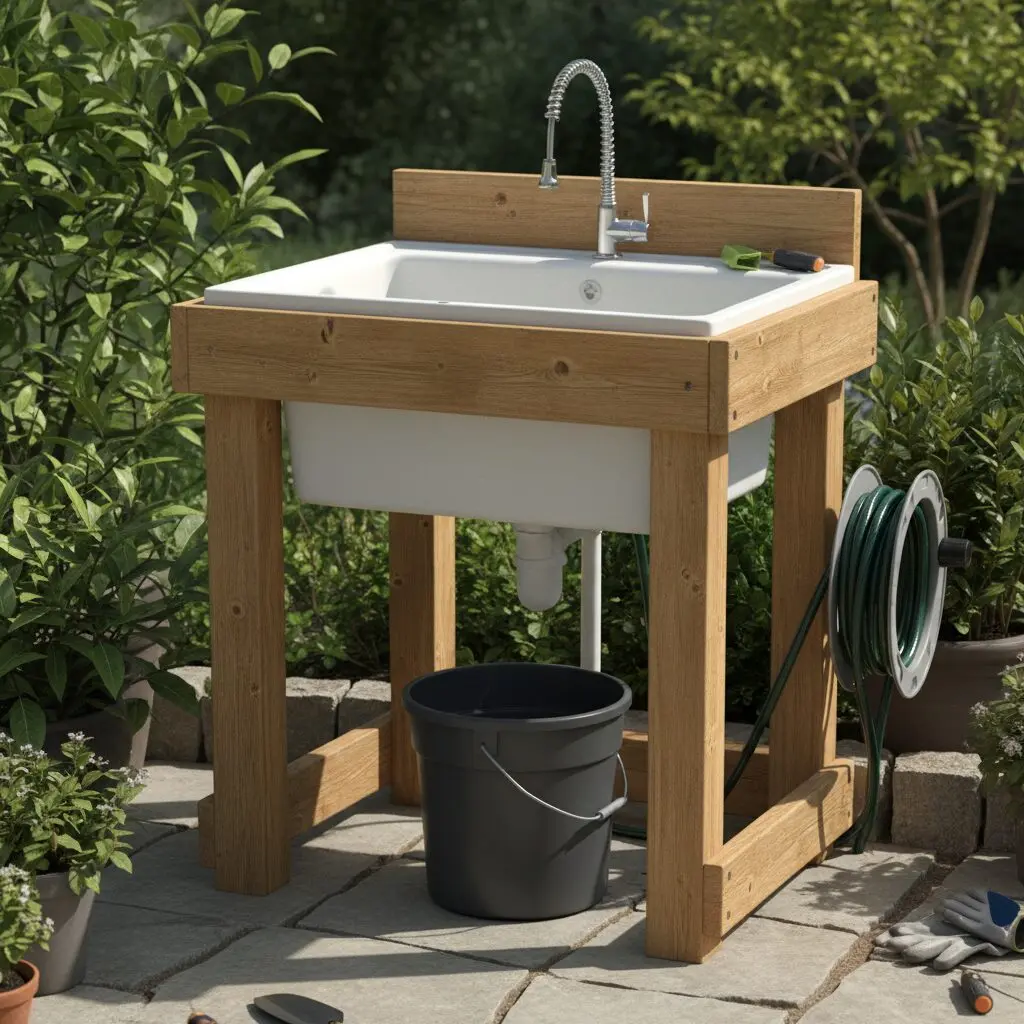
DIY Outdoor Sink Ideas & Layouts
- Freestanding DIY outdoor sink station (2×4 frame): Counter space + lower shelf + hooks
- Upcycle: Old cabinet base + drop-in sink; or a laundry tub on a simple frame
- Rolling cart sink (portable): Locking casters, side rails, removable bucket drain
- Wall-mounted fold-down shelf sink: Space saver for patios/balconies
- Pallet/crate “homemade diy outdoor sink”: Rustic look; sand edges and seal thoroughly
These diy outdoor sink ideas can be mixed and matched—start basic and upgrade as you go
Step-by-Step Build: Low-Budget Sink Station
1) Build the Frame
- Cut list (example for a 20″×16″ bar sink, 36″ counter height).
- Legs: four at 34.5″ (add top thickness to reach ~36″).
- Top frame rails: two at ~40″ and two at ~22″ (adjust to your sink + overhang).
- Lower shelf rails: four at same widths, set ~8–10″ from the bottom.
- Assemble rectangular top frame; add cross braces where sink will sit
- Attach legs; add lower shelf rails and decking slats
- Level the frame and add diagonal corner braces for stiffness
2) Cut the Counter and Drop in the Sink
- Use exterior plywood or deck boards for the top.
- Trace the sink cutout; cut with a jigsaw.
- Apply silicone around the rim; drop the sink in and clamp per manufacturer directions.
3) Install the Faucet and Connect Water
- Drill the faucet hole (check the stem size).
- Mount the faucet; add plumber’s tape to threaded parts.
- At the supply:
- Screw a vacuum breaker onto the spigot.
- Add quick-connect fittings to your hose and faucet adapter.
- Snap the hose to the faucet; check for leaks.
4) Plumb the Drain
- Install the basket strainer in the sink with plumber’s putty.
- Add tailpiece → P-trap → hose to bucket or dry well.
- Zip-tie a stainless mesh screen inside the strainer to catch solids.
- For odor control, ensure water always remains in the trap.
5) Accessorize and Weatherproof
- Add a backsplash (sheet metal, PVC panel) to protect siding.
- Mount hooks for towels and tools.
- Seal all wood faces and end grain with an exterior sealant.
- Optional: add casters for mobility (lockable).
6) Test
- Run water and check every connection for leaks.
- Verify drainage flow; if using a dry well, run a few gallons and watch for pooling.
Upgrade Path: Permanent Hot/Cold + Hard Drain
- Water lines (PEX):
- Drain connection:
- Use a code-compliant P-trap and vent (or AAV where allowed)
- Maintain 1/4″ per foot slope to the tie-in
- Add a cleanout for maintenance
- Protection:
- Frost-proof sillcocks, pipe insulation, UV-resistant conduit for lines
- Rodent-proof any openings with steel wool + sealant
If you’re unsure about venting, slopes, or tie-in points, consult a licensed plumber.
Weatherproofing, Winterizing, and Care
- Winterize (freezing climates)
- Disconnect the hose; drain the faucet and lines.
- Open valves to let trapped water out; cover faucet/sink.
- Maintenance:
- Clean the strainer weekly; empty bucket after each use if applicable.
- Disinfect the basin monthly (mild bleach solution or vinegar—rinse thoroughly).
- Reseal wood annually; tighten screws/brackets each season.
- Rust & mold prevention:
- Choose stainless fasteners; keep airflow under the sink.
- Wipe down after heavy use to reduce staining and mildew.
FAQs
External Authoritative Sources to Cite
- EPA – Household wastewater and graywater basics: https://www.epa.gov/septic/what-household-wastewater
- Call 811 – Safe digging: https://call811.com/
- Uniform/International Plumbing Code references (traps, vents, slope, backflow): https://www.iccsafe.org/
- HomeAdvisor/Angi – Typical cost ranges for plumbing projects: https://www.homeadvisor.com/ and https://www.angi.com/
- USDA Cooperative Extension (soil drainage/percolation guidance; local offices vary): https://nifa.usda.gov/extension
- Retailers for pricing examples: https://www.homedepot.com/ and https://www.lowes.com/
Related Articles
1- The Outdoor Kitchen Sink: A Buyer’s Guide
https://openskykitchen.com/the-outdoor-kitchen-sink-a-buyers-guide/
2- How to Connect an Outdoor Sink with a Faucet in 4 Steps
https://openskykitchen.com/how-to-connect-an-outdoor-faucet-to-a-sink/
3- 5 Reasons You Need a Portable Outdoor Sink
https://openskykitchen.com/why-you-need-a-portable-outdoor-sink/
4- How to winterize an outdoor Kitchen: A Complete Guide
https://openskykitchen.com/how-to-winterize-outdoor-kitchen/
5- Winterize an Outdoor Sink in 5 Easy Steps
https://openskykitchen.com/how-to-winterize-an-outdoor-sink-2/