How to Install a French Drain for Outdoor Sink in 11 Steps
What Is a French Drain for an Outdoor Sink?
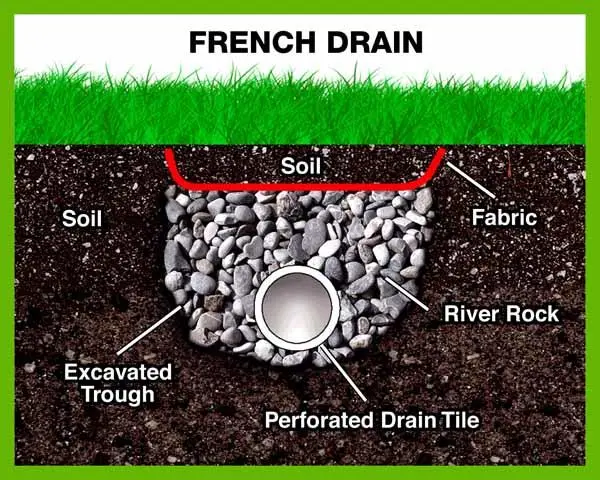
Cross-section of a French drain system for outdoor sink drainage
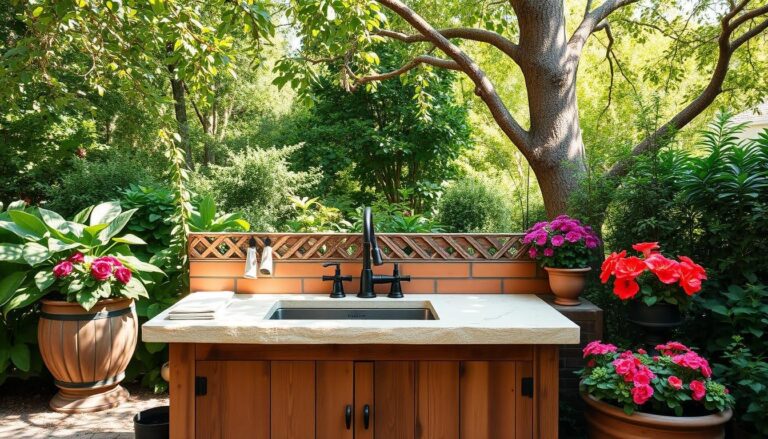
A French drain is an underground drainage system that collects and redirects water away from specific areas. For an outdoor sink, it provides a practical solution to handle greywater without creating puddles or soggy areas in your yard. The system consists of a sloped trench filled with gravel and a perforated pipe that allows water to enter and flow away from your outdoor kitchen area.
Unlike direct sewer connections, a French drain for your outdoor sink works with gravity and natural filtration to manage wastewater. This makes it an excellent option for outdoor sinks located away from your home’s main plumbing system or in areas where connecting to existing drainage isn’t feasible.
How a French Drain Works with Your Outdoor Sink
When you use your outdoor sink, the wastewater flows through a drain pipe into the French drain system. The perforated pipe, surrounded by gravel and wrapped in landscape fabric, collects this water and channels it away from your outdoor kitchen area. The gravel provides filtration while the landscape fabric prevents soil from clogging the system.
The slight downward slope of the French drain ensures that water continues moving away from your sink area, preventing backups and pooling. This simple yet effective system can handle the typical water volume from an outdoor sink while protecting your yard and outdoor living spaces.
Benefits of Installing a French Drain for Your Outdoor Sink

- Prevents water pooling and soggy areas around your outdoor kitchen
- Reduces the risk of water damage to your patio, deck, or home foundation
- Provides effective drainage without connecting to your home’s plumbing
- Environmentally friendly option that allows water to naturally filter into soil
- Cost-effective solution compared to installing complex plumbing systems
- Can be installed as a DIY project with basic tools and materials
- Helps prevent mosquito breeding grounds by eliminating standing water
Materials and Tools Needed for French Drain Installation
Essential Materials
- Perforated pipe: 4-inch diameter corrugated drainage pipe (length depends on your specific needs)
- Landscape fabric: Enough to wrap around the pipe and line the trench
- Gravel: ¾-inch washed gravel or crushed stone (approximately 1 cubic yard per 10 feet of trench)
- Catch basin: To collect water from the sink drain
- PVC pipe: To connect from sink drain to the French drain system
- PVC connectors: Elbows and couplings as needed
- Pipe straps: To secure pipes in place
Required Tools

- Shovel: For digging the trench
- Pick or mattock: For breaking up hard soil
- Tape measure: To ensure proper dimensions
- Level: To check the slope of the trench
- String and stakes: For marking the trench line
- Utility knife: For cutting landscape fabric and pipe
- Garden rake: For leveling the trench bottom
- Tamper: For compacting soil
- Hacksaw: For cutting PVC pipe
- Safety gear: Gloves, eye protection, and sturdy footwear
Ready to Get Started?
Find all the materials you need for your French drain project at your local hardware store. Or save time by ordering online!
Planning Your French Drain for Outdoor Sink
Assessing Your Outdoor Kitchen Layout
Before digging, take time to assess your outdoor kitchen area and determine the best route for your French drain. Consider the location of your sink, the natural slope of your yard, and where you want the water to drain. Ideally, the French drain should direct water at least 10 feet away from your home’s foundation and any other structures.
Checking Local Building Codes
Before starting any drainage project, check with your local building department about regulations and permits. Some areas have specific requirements for drainage systems, especially regarding where the water can be discharged. Make sure your French drain for outdoor sink installation complies with all local codes to avoid potential issues later.
Determining the Proper Slope
For effective drainage, your French drain needs a proper slope. The standard recommendation is a minimum slope of 1 inch per 10 feet of pipe (a 1% grade). This ensures water flows away from your sink rather than pooling in the pipe. Use a level and string to plan and mark this slope before digging.
Important: Always call 811 or your local utility locating service before digging to mark underground utilities. This free service helps prevent dangerous and costly damage to utility lines.
Step-by-Step French Drain Installation for Outdoor Sink
Step 1: Mark the Trench Path

Start by marking the path your French drain will follow. Use stakes and string to create a straight line from your outdoor sink to the drainage point. Ensure the path maintains a downward slope away from your outdoor kitchen area. Spray paint or flour can be used to mark the ground along the string line.
Step 2: Dig the Trench

Dig a trench along your marked path. For an outdoor sink French drain, the trench should be approximately 12 inches wide and 18 inches deep. The depth may vary depending on your specific situation, but make sure it’s deep enough to allow proper water flow while maintaining the necessary slope. Remove any rocks or roots you encounter.
Use a level to check the slope as you dig, ensuring a consistent downward grade of at least 1 inch per 10 feet. The bottom of the trench should be as smooth and even as possible to support the pipe properly.
Step 3: Line the Trench with Landscape Fabric

Line the entire trench with landscape fabric, leaving enough excess on the sides to later wrap over the top of the gravel. This fabric is crucial as it prevents soil from mixing with the gravel and clogging the system. Make sure the fabric covers the bottom and sides of the trench completely, with at least 12 inches of extra fabric on each side.
Step 4: Add a Gravel Base

Pour a 2-3 inch layer of gravel on top of the landscape fabric at the bottom of the trench. Spread it evenly to create a stable base for the perforated pipe. This initial layer of gravel helps improve drainage and provides support for the pipe.
Step 5: Connect Sink Drain to Catch Basin

Install a catch basin at the starting point of your French drain, near your outdoor sink. Connect your sink drain to this catch basin using PVC pipe. The catch basin serves as a collection point for water from your sink and helps trap debris before it enters the French drain system.
Make sure all connections are secure and properly sealed to prevent leaks. The catch basin should sit slightly above the perforated pipe to allow water to flow downward into the system.
Need Help With Complex Plumbing?
Connecting your sink drain properly is crucial for a functioning system. If you’re unsure about the plumbing connections, professional help is just a click away.
Step 6: Install the Perforated Pipe

Place the perforated pipe in the trench on top of the gravel base. Ensure the pipe is connected to the catch basin and runs the entire length of the trench. For optimal drainage, position the pipe with the holes facing downward. This counterintuitive placement actually improves drainage by allowing water to enter from below, reducing the chance of clogging.
Check the slope of the pipe using a level to ensure it maintains the proper downward grade throughout the entire length.
Step 7: Cover with Gravel

Cover the perforated pipe with more gravel, filling the trench to within 3-4 inches of the surface. The gravel should completely surround the pipe, providing filtration and allowing water to flow freely. Spread the gravel evenly throughout the trench.
Step 8: Fold Over Landscape Fabric

Fold the excess landscape fabric over the top of the gravel layer, creating a complete envelope around the gravel and pipe. This step is crucial for preventing soil from entering and clogging your French drain system. Make sure the fabric overlaps in the middle to provide complete coverage.
Step 9: Backfill the Trench

Backfill the remaining portion of the trench with the soil you removed earlier. Add the soil in layers, tamping each layer down to prevent future settling. The final layer should match the surrounding ground level or be slightly mounded to account for settling over time.
Step 10: Test the System

Once your French drain is installed, test the system by running water through your outdoor sink. Check for proper drainage and ensure water flows through the system as expected. Look for any pooling or backups that might indicate a problem with the installation.
Step 11: Finish and Landscape

Complete the project by restoring the landscaping around your French drain. You can cover the area with grass, decorative stone, or integrate it into your existing landscape design. The goal is to make the drain functional while maintaining the aesthetic appeal of your outdoor space.
Maintaining Your French Drain for Outdoor Sink

Regular Maintenance Tasks
To keep your French drain functioning properly for years to come, regular maintenance is essential. Here are key maintenance tasks to perform:
- Clean the catch basin: Remove and clean the catch basin grate regularly to prevent debris buildup. This should be done at least once a month during heavy use periods.
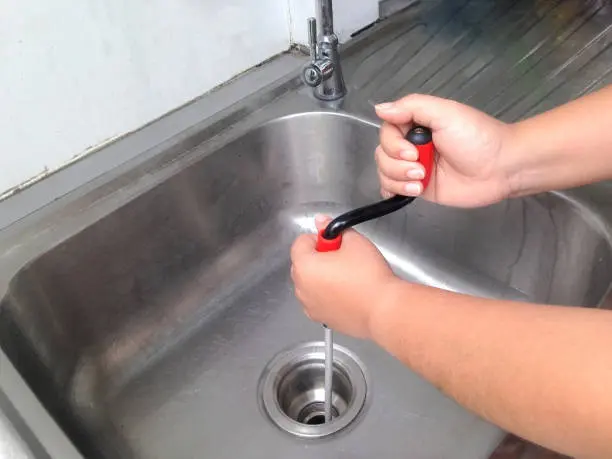
- Flush the system: Occasionally, flush the French drain with clean water to help remove any accumulated sediment. This can be done by running clean water through the system for several minutes.
- Inspect for clogs: If you notice slow drainage, inspect the system for potential clogs or blockages. Pay special attention to the catch basin and the connection points.
- Check for settling: Over time, the soil above your French drain may settle. Add additional soil as needed to maintain proper grading away from your outdoor kitchen area.
- Monitor vegetation: Keep an eye on plant growth near your French drain. Tree roots can potentially infiltrate the system and cause damage.
Seasonal Maintenance Considerations
Different seasons may require specific maintenance approaches for your outdoor sink French drain:
Spring and Summer
- Clear any debris that accumulated over the winter
- Check for proper drainage during spring rains
- Monitor more frequently during heavy use periods
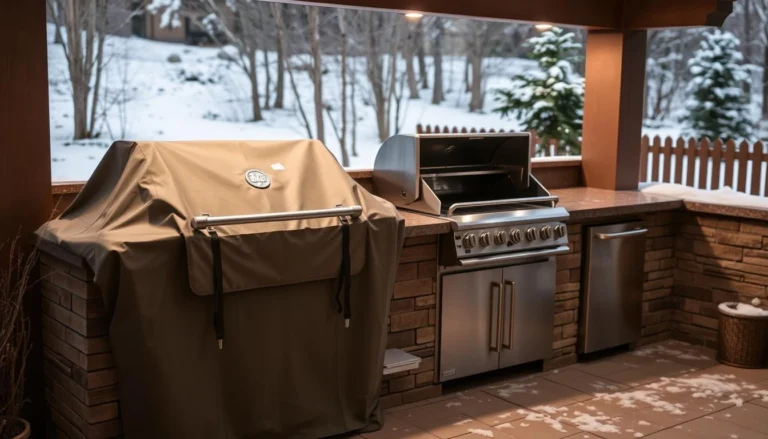
Fall and Winter
- Remove fallen leaves from the catch basin
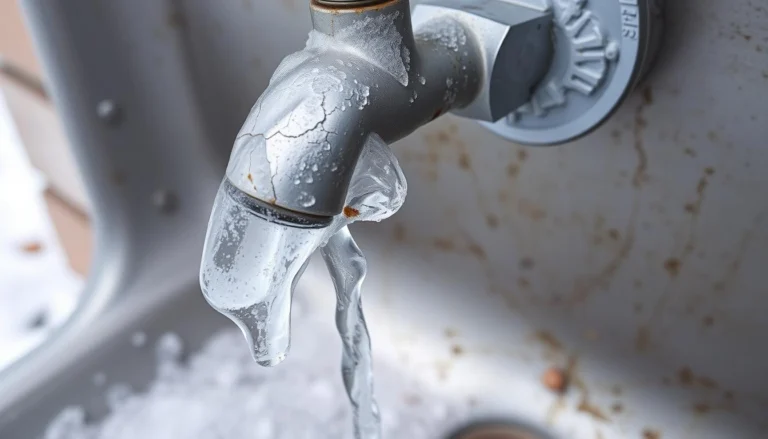
- Winterize your outdoor sink to prevent freezing
- Consider covering the catch basin during the winter months
Common Mistakes to Avoid When Installing a French Drain for an Outdoor Sink
Common Installation Mistakes
- Insufficient slope: Not providing enough downward grade for proper water flow
- Improper pipe placement: Installing the perforated pipe with holes facing upward
- Skipping the landscape fabric: Allowing soil to mix with gravel and clog the system
- Inadequate gravel: Not using enough gravel around the pipe for proper filtration
- Poor connection to sink: Failing to properly connect the sink drain to the French drain system
- Incorrect depth: Installing the drain too shallow, risking freezing or damage
- Draining toward structures: Directing water toward your home or other buildings
- Using the wrong materials: Choosing materials not suited for underground drainage
Troubleshooting French Drain Issues for Outdoor Sink
| Problem | Possible Cause | Solution |
| Water is backing up in the sink | Clogged catch basin or pipe | Clean the catch basin and flush system with water |
| Water is pooling above the drain | Insufficient slope or blockage | Check for proper slope and clear any blockages |
| Soggy areas along the drain path | Tears in the landscape fabric | Excavate the affected area and repair the fabric |
| Sink is draining very slowly | Grease buildup in pipes | Flush with hot water and biodegradable degreaser |
| Odors from the drain system | Food debris decomposing in the system | Clean the catch basin and consider installing a trap |
Alternative Drainage Options for Outdoor Sinks
Direct Sewer Connection
Pros: Handles high water volume, connects to municipal treatment
Cons: More expensive, requires professional installation, permits needed
Dry Well System
Best for: Areas with good soil percolation
Pros: Simpler than a French drain, compact installation
Cons: Limited capacity, may not work in clay soils
Greywater Recycling
Best for: Eco-conscious homeowners with gardens
Pros: Environmentally friendly, waters plants automatically
Cons: Requires biodegradable soaps, seasonal limitations
Conclusion: Enjoying Your Properly Drained Outdoor Sink

Installing a French drain for your outdoor sink is a practical solution that prevents water pooling and protects your outdoor living space. With proper planning, the right materials, and careful installation, you can create an effective drainage system that will serve you for many years.
Remember that regular maintenance is key to keeping your French drain functioning properly. By following the steps and advice in this guide, you’ve taken an important step toward enhancing the functionality and enjoyment of your outdoor kitchen area.
Whether you’re an experienced DIYer or trying your first major outdoor project, a French drain installation is a rewarding project that adds real value to your home. Enjoy your dry, functional outdoor kitchen space!
Frequently Asked Questions
1. How far should a French drain be from my home’s foundation?
A French drain for an outdoor sink should be installed at least 10 feet away from your home’s foundation to prevent water from seeping back toward the structure. The drain should always slope away from your home and other structures to ensure proper water flow direction.
2. Can I install a French drain in clay soil?
Yes, but it requires special considerations. Clay soil drains poorly, so you’ll need to use more gravel around your pipe and possibly create a wider trench. You might also need to extend the drain further to reach an area with better drainage or consider adding a dry well at the end of your French drain system.
3. Do I need a permit to install a French drain for my outdoor sink?
Permit requirements vary by location. Some municipalities require permits for drainage work, especially if it affects neighboring properties or connects to municipal systems. Check with your local building department before starting your project to ensure compliance with local regulations.
4. How long will a French drain for an outdoor sink last?
A properly installed French drain can last 15-20 years or more with regular maintenance. Factors affecting longevity include the quality of materials used, proper installation techniques, regular maintenance, and the volume of water processed. Using high-quality landscape fabric and proper gravel can significantly extend the system’s life.
5. Can I use my outdoor sink in winter with a French drain?
In cold climates, outdoor sinks with French drains should be winterized to prevent freezing. This typically involves shutting off the water supply, draining all pipes, and possibly adding antifreeze to traps. The French drain itself, being underground, is usually protected from freezing if installed at the proper depth (at least 12-18 inches).