7 Easy Steps to Winterize an Outdoor Sink:
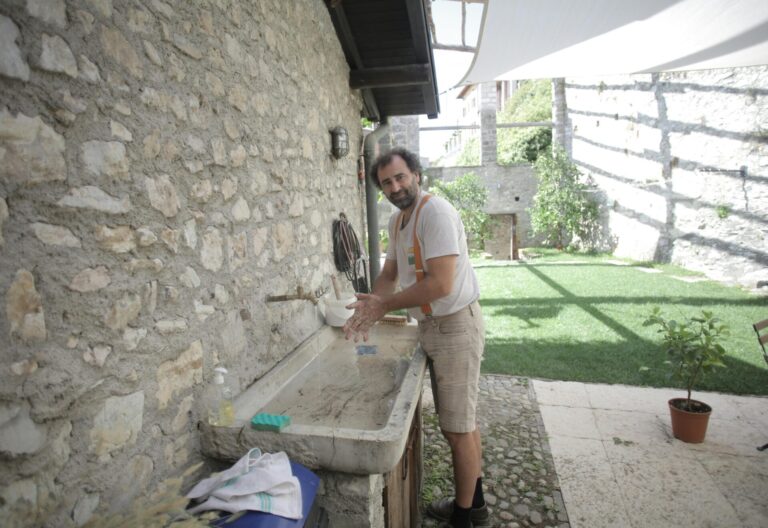
An outdoor sink is appropriate for any backyard or garden, offering washing up, gardening, or entertaining use. However, as winter comes, protecting your outdoor sink from freezing temperatures is crucial. Proper winterization prevents possible damage caused by freezing pipes, so please make sure your sink is ready to use this spring. Here are step-by-step directions to winterizing your outdoor sink.
 g
g
Why Winterizing an Outdoor Sink is Important:
Water expands when it freezes, causing pipes and fixtures to crack or burst. Repairs can be costly and time-consuming. Winterizing your outdoor sink saves you money and increases the life of your outdoor plumbing.
Tools and Materials Needed:
Before you begin, gather the following items:
Bucket or hose
Towel
Shut-off valve (if not already installed)
Plumber’s tape (optional)
Antifreeze (optional for some systems)
Step-by-Step Winterization Process:
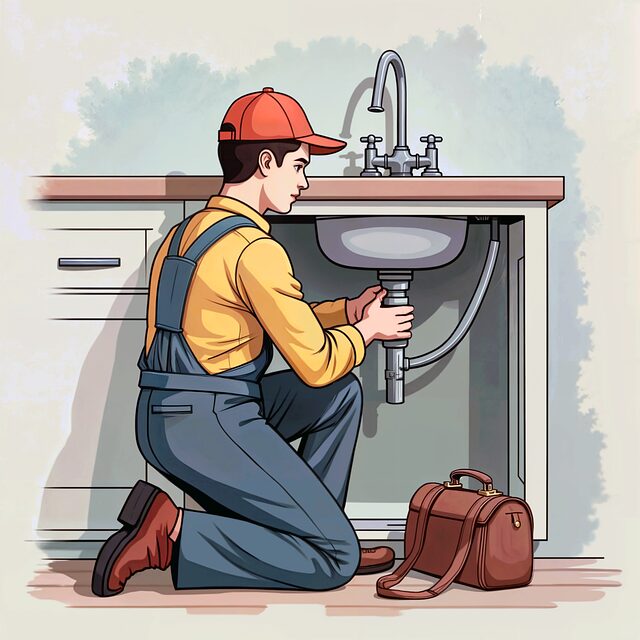
1. Turn off the Water Supply.
Find the shut-off valve that controls the water flow to your outdoor sink. This is generally found inside your home, near the water pipe or the wall closest to the outdoor sink.
Turn the valve clockwise to close it fully, cutting off the water supply to the sink.
2. Disconnect and Drain the Pipes.
Open the outdoor sink faucet to clear any leftover water in the pipes.
Disconnect if the sink is connected to a garden hose or flexible piping. Allow any remaining water to drain completely into a bucket or the ground.
For drainage system systems, find the drainage point (usually near the shut-off valve) and use it to empty the pipes.g
3. Cover the Pipes.
Use foam pipe covers or heat tape to cover any uncovered pipes. This protects any leftover moisture from freezing and damaging the fitting.
Secure the covers with zip ties or duct tape to keep them in place throughout the winter.
4. Remove and Store moveable parts.
Remove and store any moveable parts, such as faucet handles, nozzles, or hoses, in a dry, indoor area. This reduces the chance of weather-related damage.
Clean these parts properly before storage to avoid fungus or corrosion.
5. Protect the Faucet.
To protect the faucet from freezing temperatures, use a foam faucet cover. These covers are cheap and available at most hardware stores.
Conversely, cover the faucet with several layers of cloth or a plastic-wrapped towel.
6. Check for leftover Water.
Verify again that the plumbing system and sink are completely dry. Damage can result from even a tiny amount of water freezing.
Use air pressure to remove any remaining water in the pipes for more complex systems.
7. Use Antifreeze ( Optional):
You can add RV or marine-grade antifreeze to the pipes of systems that can’t be completely drained, like those with bends or traps.
Follow the constructor’s directions and only use antifreeze safe for plumbing systems.
Additional Tips:
Examine for Leaks: Before starting, examine your sink and plumbing for leaks or damage. Noticing these issues now will save you problems later.
Plan for Early Freeze: Don’t wait until freezing temperatures arrive. Winterise your outdoor sink well before the first frost.
Recheck Mid-Winter: If you experience extreme cold snaps, check your sink and pipes regularly to ensure they remain protected.
Conclusion
Winterising your outdoor sink is a simple but necessary task to prevent costly repairs and expand the life of your outdoor plumbing. Following these steps, you can rest easy knowing your sink is protected and ready to serve you again when spring returns.