How to Install an Outdoor Sink Easily – 7 DIY Steps You Can Follow

Installing an outdoor sink can transform your backyard, patio, or garden into a more functional and convenient space. Whether you need a sink for washing hands, cleaning gardening tools, or prepping food outdoors, a well-installed outdoor sink makes tasks easier.
In this comprehensive guide, we’ll walk you through how to install an outdoor sink, covering essential steps like choosing the right location, connecting plumbing, and ensuring proper drainage.
With the right tools and materials, this DIY project can be completed in a few hours. We’ll also share pro tips to avoid common mistakes and ensure a long-lasting installation. Let’s get started on creating the perfect outdoor utility station!
Understanding Outdoor Sink Basics
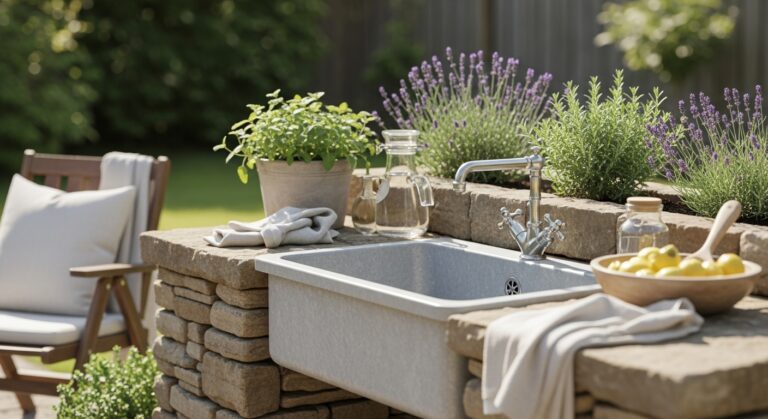
An outdoor sink is key in an outdoor kitchen. Knowing the basics helps you make a smart choice for your kitchen design. There are many types of outdoor sinks, like stainless steel, granite, and ceramic. Each has its own look, durability, and upkeep needs.
Choosing the right material is important for your sink’s life and performance. Stainless steel sinks are great because they resist rust and are easy to clean. Granite sinks look modern and last a long time.
Knowing about these materials helps you pick the best sink for your kitchen, considering your needs and plumbing tips.
Think about the size and design of your outdoor sink, too. A well-chosen sink can make your kitchen more functional and beautiful.
By matching the sink to your kitchen’s layout, you ensure it’s both useful and welcoming. This way, your outdoor kitchen will be perfect for entertaining and match your kitchen design.
Types of Outdoor Sinks Available
There are many outdoor sink types, each with its own benefits. You can find single-bowl or double-bowl sinks and even wall-mounted or freestanding ones. Exploring these options helps you find the ideal sink for your kitchen.
Material Considerations
Material choice is crucial for your sink’s durability and performance. Knowing the pros and cons of different materials helps you pick the best one for your needs and budget.
Size and Configuration Options
Don’t forget to think about the size and design of your sink. A well-designed sink can greatly improve your kitchen’s look and function. By considering your kitchen’s layout, you can find a sink that fits perfectly, offering enough space for cooking and cleaning.
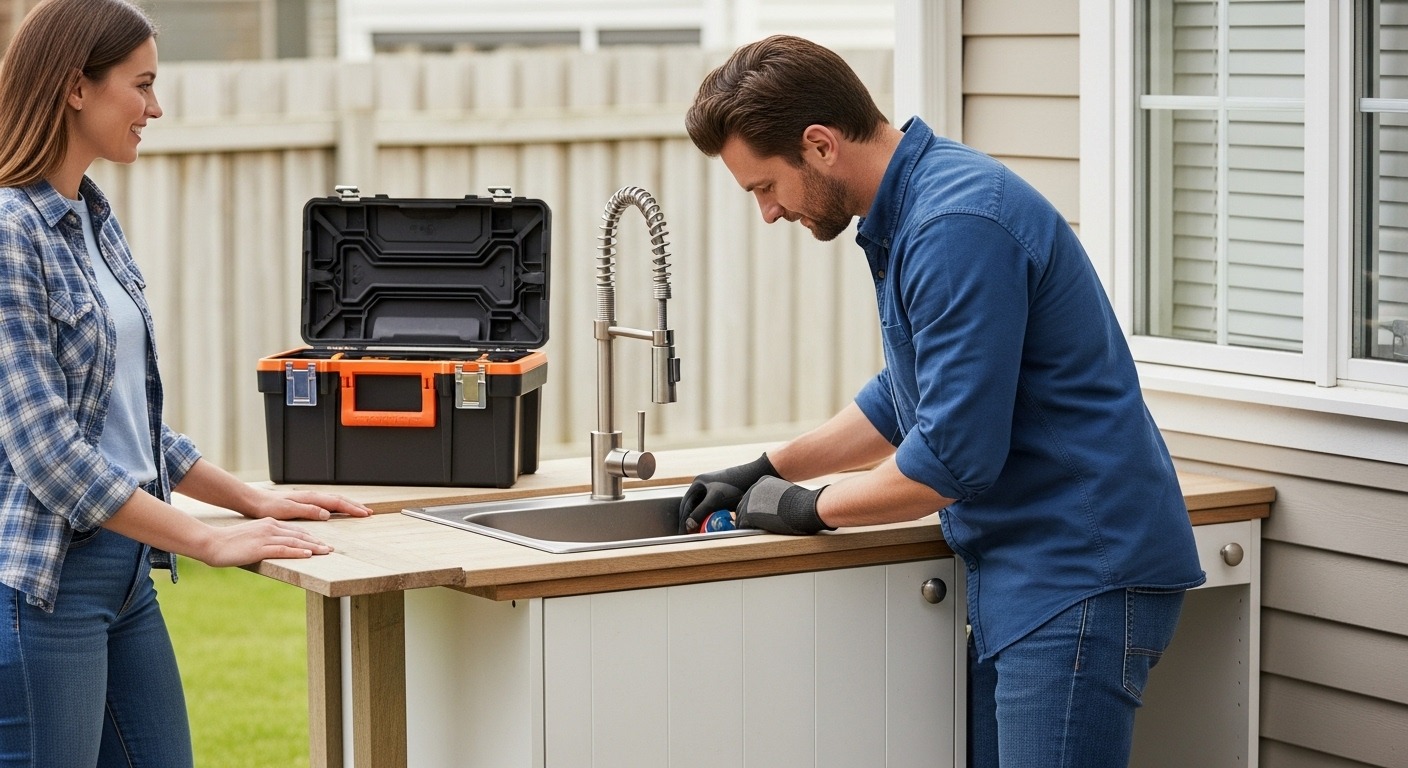
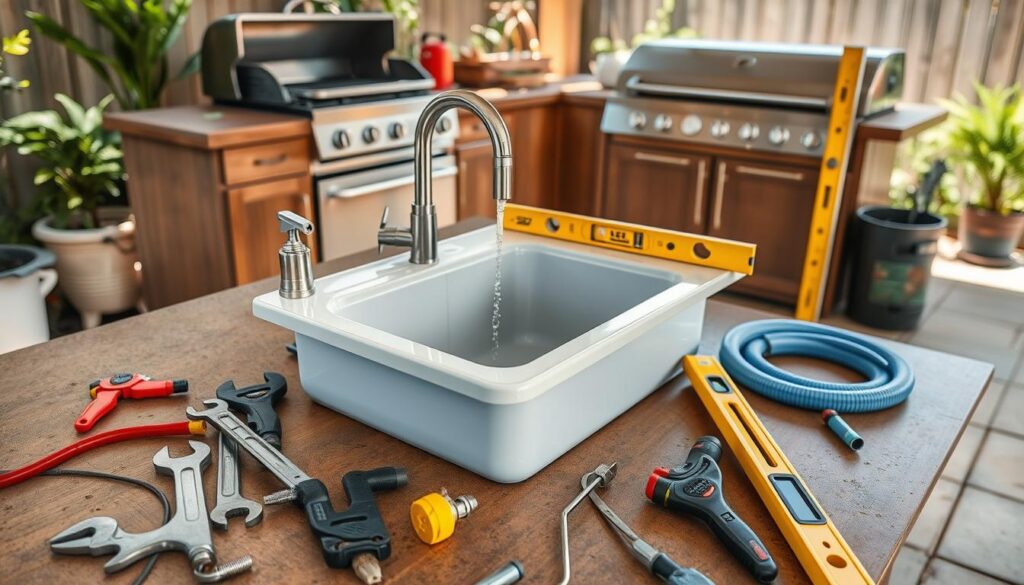
Essential Tools and Materials Needed
For DIY projects, the right tools and materials are key to success. This is especially true when learning how to install an outdoor sink, a task that can elevate your outdoor kitchen or utility space. Gathering everything you need before starting will save you time and stress, letting you focus on creating a flawless outdoor setup.
Outdoor living enthusiasts should stock their toolbox with essentials for this project. To properly install an outdoor sink, you’ll need a pipe wrench, pliers, and a drill, along with PVC pipes, fittings, and a durable sink basin. Don’t forget safety gear like gloves and glasses—protecting yourself ensures a smooth installation process.
Investing in the right tools and materials boosts your confidence in DIY projects. Whether you’re experienced or new, the right equipment improves your work quality. So, before starting your outdoor kitchen sink installation, make sure you have everything. Then, enjoy your new outdoor living space.
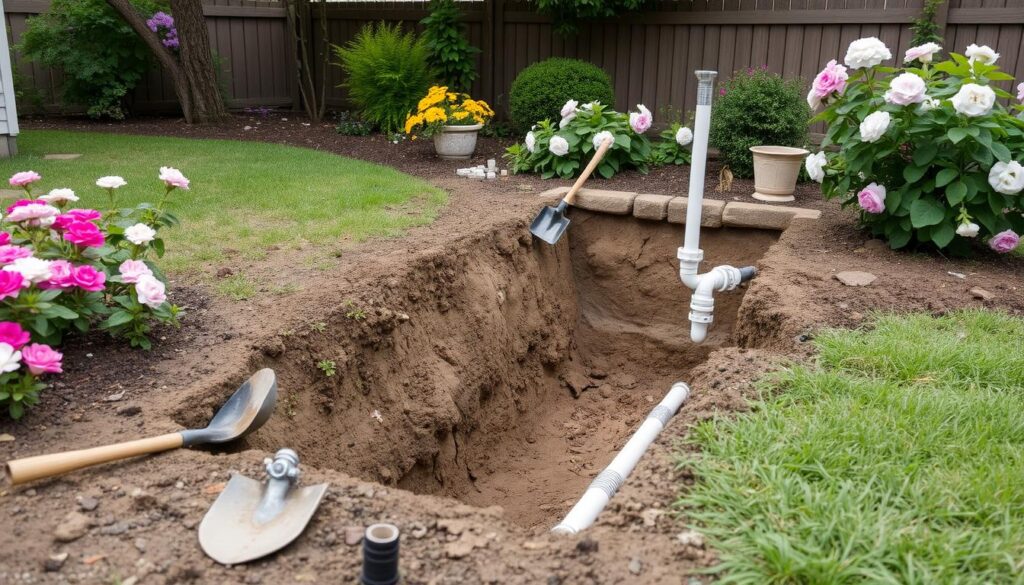
Step 1: Planning Your Outdoor Sink Location
When designing your outdoor kitchen, the sink’s location is key—it affects both functionality and aesthetics. If you’re learning how to install an outdoor sink, start by placing it near a water source to simplify plumbing and installation. A well-planned outdoor kitchen with a properly positioned sink enhances outdoor living.
The sink should blend seamlessly with its surroundings while meeting space and drainage requirements. Proper plumbing is crucial to prevent water issues and structural damage. For a secure and long-lasting setup, consider hiring a professional to help with how to install an outdoor sink correctly, ensuring safety and optimal performance.
Water Source Proximity
Having a water source nearby is essential for your sink. The distance to water affects plumbing needs. Plan your kitchen layout with this in mind.
Drainage Requirements
Drainage is vital for sink installation. Make sure your sink has a good drainage system. This prevents water buildup and damage to your kitchen.
Space Considerations
Think about the space when choosing your sink size and design. A well-designed kitchen with a good sink location improves outdoor living. It creates a functional space for cooking and entertaining.
Step 2- Preparing the Installation Area
For outdoor plumbing, a well-prepared area is key for a successful DIY project. When learning how to install an outdoor sink, start by ensuring the space is level, clean, and free from debris. This step is crucial because it impacts the entire installation process.
A clean, level surface provides a solid foundation for your outdoor sink, reducing the risk of future issues and ensuring a stable setup. Any reliable guide on how to install an outdoor sink will emphasize the importance of preparation. Follow these key steps to get the area ready:
Clear the space – Remove debris, plants, or obstructions.
Check for level ground – Adjust if needed to prevent uneven installation.
Taking the time to prepare properly simplifies the rest of the project and leads to a professional-looking finish. Always consult your sink’s installation guide for model-specific tips to ensure the best results.
Building the Support Structure
A sturdy support structure is key for your outdoor kitchen’s stability and longevity. A well-built frame gives your kitchen a solid base. This boosts its durability and looks. It’s also vital for handling different weather and keeping your sink working well.
Building the support structure involves several steps. These include making the frame, getting the countertop ready, and making sure the surface is level. Proper planning and execution are crucial. They help create a structure that fits your needs and looks great with your kitchen design. With a strong support structure, your outdoor kitchen will last for years with a reliable sink.
When building the support structure, remember the importance of a level surface. A level surface is key for your sink’s stability and function. It’s a must for your kitchen’s design and your home improvement project. A well-built structure and careful sink installation make your kitchen beautiful and functional. It’s perfect for entertaining and daily use.
Frame Construction
A strong frame is the heart of your support structure. It gives your sink the stability it needs. Use durable materials for the frame to make sure it lasts through different weather.
Countertop Preparation
Preparing the countertop is a critical step. Make sure it’s level, secure, and can handle the weather. This gives your sink a solid base and makes your kitchen look great.
Step 3- Water Supply Line Installation
Installing an outdoor sink starts with connecting the water supply line. This step needs careful attention to avoid leaks or water damage. By following plumbing tips, you can make sure your outdoor sink lasts for years. Installing a water supply line for your outdoor sink can be tough. But, with the right help, you can get great results. It’s key to pick the right materials and follow the manufacturer’s guide for a secure connection. First, find the best spot for your water supply line. Think about how close it is to the water source and drainage. This helps create a useful and beautiful outdoor sink area. With the right plumbing tips and patience, you can finish this DIY project and enjoy your outdoor sink in your backyard.
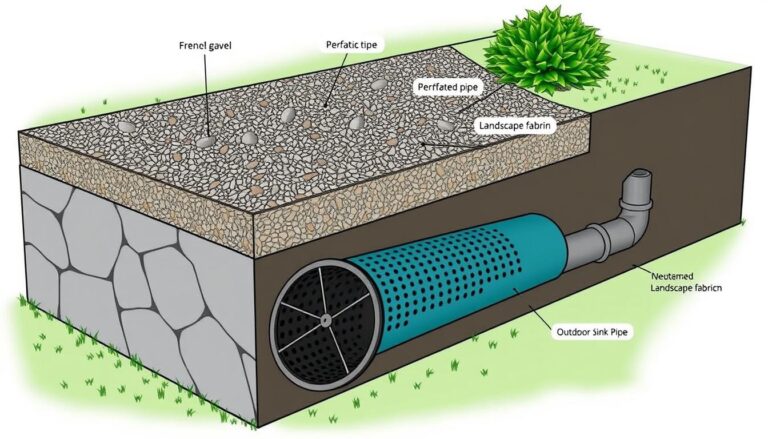
Step 4- Setting Up the Drain System
Outdoor plumbing needs a good drain system for your outdoor sink to work right. Installing a reliable drain system is key for your home improvement. It keeps your outdoor kitchen clean and working well. A well-sloped drain pipe is important for smooth water flow.
Setting up the drain system involves a few steps. You need to install the drainpipe and set up the P-trap. Make sure the drain pipe is sloped right to avoid clogs. Following the right steps for sink installation helps avoid problems.
When setting up the drain system, remember a good drainpipe keeps your outdoor kitchen clean. Paying attention to outdoor plumbing and sink installation makes your outdoor space better. It adds to your home improvement experience.
Drain Pipe Installation
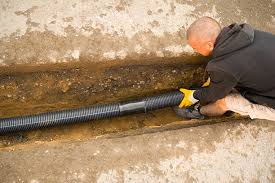
This step is about planning and installing the drain pipe. You need to think about the pipe’s slope and material. This ensures your drainage system works well with your outdoor sink and home improvement.
P-Trap Setup
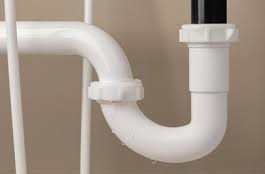
A P-trap is key in the drain system. It stops sewer gases from getting into your kitchen. Setting up the P-trap right is important for a clean and healthy kitchen.
Proper Slope Requirements
Getting the drain pipe’s slope right is crucial to avoid clogs. Following the recommended slope helps make a reliable drainage system. It supports your outdoor plumbing and sink needs.
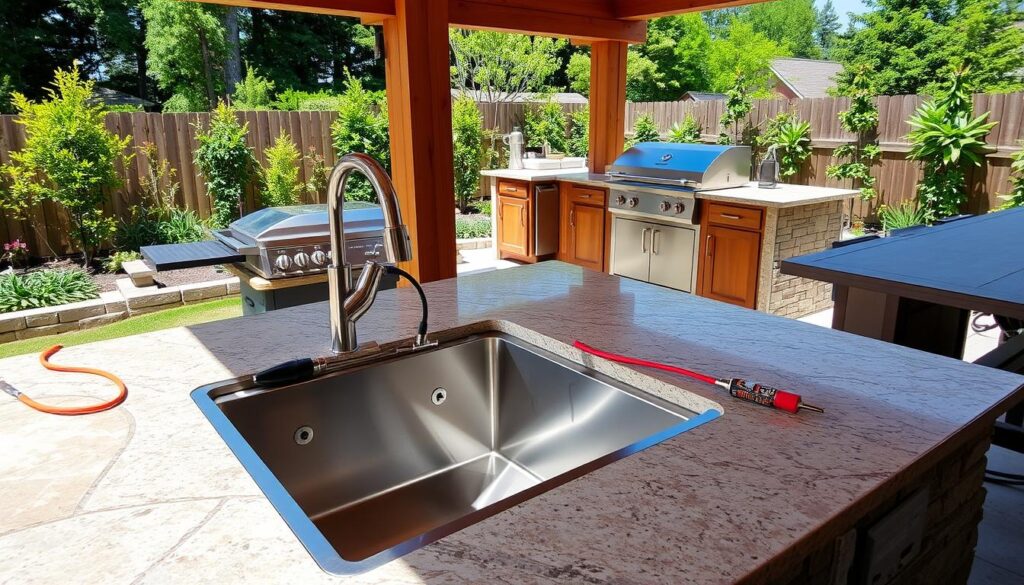
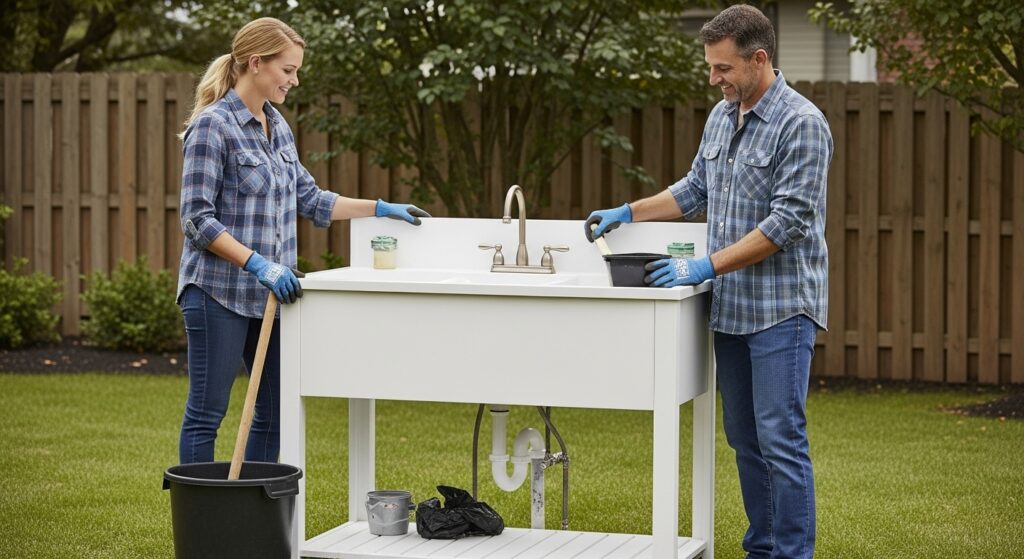
Step 5- Mounting Your Outdoor Sink
Having a stable and safe sink in your outdoor kitchen is key. A DIY guide can help, but always follow the manufacturer’s sink installation instructions. Start by making sure the support is level and sturdy. This is the base for your sink. Then, place the sink in the right spot, ensuring it’s centered and even. After placing the sink, use the hardware to attach it to the support. Double-check that everything is tight and the sink is level. A DIY guide can offer more tips for a successful sink installation in your outdoor kitchen. By following these steps and being careful, you’ll have a safe and useful outdoor sink. Always stick to the manufacturer’s instructions and take your time during sink installation.
Step 6- Connecting the Faucet and Hardware
To finish your outdoor sink, you need to connect the faucet and hardware. This step is crucial for a leak-free and durable sink. It also makes your outdoor kitchen look great. With the right plumbing tips, your sink will be both functional and stylish.
Start by following the manufacturer’s guide for the faucet. You’ll need to attach it to the sink, connect the water lines, and secure the drain. Use plumber’s tape on the connections to stop leaks.
Once the faucet is set up, focus on sealing and waterproofing. Use silicone sealant around the faucet and drain to keep water out. Regular checks and maintenance will keep your sink in top shape. This way, your outdoor sink will be a great addition to your kitchen design for many years.
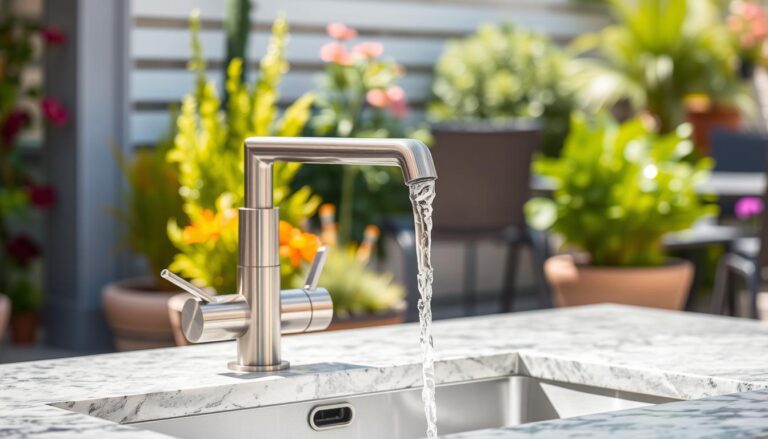
Step 7- Testing the Water System
When it comes to outdoor plumbing, testing the water system is key before using your new sink. You need to check for leaks, make sure water flows right, and test the drain. A good sink installation is vital for a working outdoor kitchen. Working on a DIY project like this means paying close attention to details. First, turn on the water and look for leaks under the sink, around the faucet, and on the water lines. Then, run water through the drain to see if it flows well. By doing these steps, you’ll know your outdoor sink is ready to go. Always follow safety rules and think about getting help from a pro if you’re not sure about anything in the sink installation or DIY project.
Weatherproofing Your Outdoor Sink Installation
To make your outdoor sink last longer, you need to weatherproof it. This means protecting it from the weather. An outdoor kitchen sink can be a great addition, but it must be cared for to handle different weather.
When improving your home, think about how long your outdoor sink will last. Use materials that can stand up to the weather and seal any openings. This is key in places with tough weather, where a well-kept outdoor kitchen is a big plus.
It’s also important to think about the seasons when keeping your sink in top shape. Regular cleaning and upkeep can stop damage from extreme weather. By doing this, you can use your outdoor kitchen all year, knowing your sink is safe and works well.
Protective Measures
Some ways to protect your sink include using a waterproof sealant and a drain trap to avoid clogs. These easy steps can help your sink last longer and stay a great part of your home improvement.
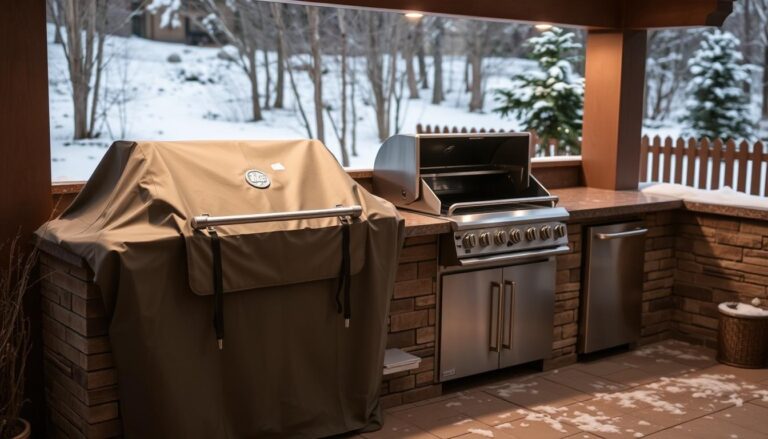
Seasonal Considerations
As the seasons shift, get your sink ready for the weather ahead. You might need to drain it in winter or apply a rust guard to metal parts. By thinking about the seasons, your sink will stay in good shape and keep being a useful part of your outdoor kitchen.
Common Installation Challenges
Installing an outdoor sink can come with its own set of challenges. One major issue is making sure you have the right water supply and drainage. Following plumbing tips and using a good DIY guide can help avoid mistakes and ensure a good installation. Another problem is dealing with uneven surfaces or leaks. Knowing how to install and troubleshoot is key. Being ready for these challenges helps prevent them and makes the installation smoother. For instance, a DIY guide offers plumbing tips and boosts your confidence. Also, a reliable outdoor sink installation kit can greatly improve your project’s success. With the right preparation and tools, you can beat common installation hurdles. Always follow plumbing tips and best practices for a safe and successful installation. This way, you can enjoy your outdoor sink for many years.
Maintenance Tips for Longevity
Keeping your outdoor kitchen sink in good shape is key. Regular cleaning and seasonal upkeep stop dirt and grime from building up. This keeps your sink working well and clean. Adding DIY projects to your routine can save you time and money, keeping your kitchen looking great. For sink maintenance, a cleaning schedule is a must. Clean the sink and faucet daily and do a deep clean weekly with a mild cleanser. Also, check and replace any parts that are worn out to avoid leaks and other problems.
Regular Cleaning Routine
A clean outdoor kitchen sink is both useful and looks good. Stick to a cleaning schedule and do seasonal maintenance to enjoy your kitchen for many years. Always use the right cleaning products and follow the manufacturer’s advice to keep your outdoor kitchen sink in top condition.
Seasonal Maintenance Schedule
Having a seasonal maintenance plan helps you stay on track. Tasks include checking and cleaning the drain, looking for leaks, and protecting the sink from harsh weather. By focusing on sink maintenance and doing DIY projects, you’ll have a kitchen that’s both functional and beautiful, making your outdoor living better.
Safety Considerations and Local Codes
Outdoor plumbing safety is key. Making sure your outdoor sink follows local rules is vital to avoid risks. Home improvement projects, like installing an outdoor sink, need careful planning. This ensures a safe and working outcome. Local rules change by area, so knowing your area’s needs is crucial. You’ll need to get the right permits and have experts check your work.
Permit Requirements
Before you start, check if you need permits. This step helps you avoid fines and ensures your project is done right.
Professional Inspection Guidelines
A professional check is essential for safety and function. An expert will make sure your work meets local standards. This gives you confidence and protects your home improvement investment. By focusing on safety and local codes, your outdoor sink will last for many years.
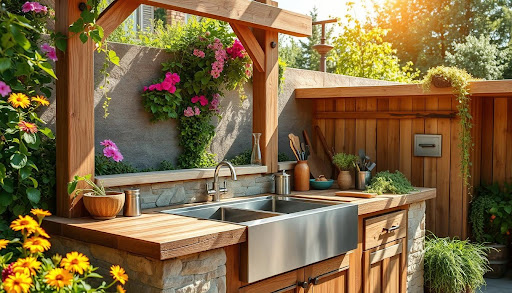
Enhancing Your Outdoor Sink Area
Now that your outdoor sink is installed, it’s time to make your outdoor kitchen inviting. Think about the style you want, from cabinets to countertops. A well-designed kitchen is great for backyard entertaining, perfect for hosting. Integrating your sink with the yard is key. Add seating, outdoor lights, or decor that shows your style. This makes your kitchen flow smoothly with the yard. When improving your sink area, think about function too. Make sure your sink is easy to reach and there’s enough counter space. This way, your kitchen will be both beautiful and useful, ideal for backyard entertaining and daily use.
Conclusion
Now that you have your outdoor kitchen sink installed, you can enjoy dining and entertaining outside. This DIY guide has given you the tools to make a welcoming outdoor kitchen space. It will make your home more enjoyable and increase its value. Having a dedicated sink for food prep and cleaning is super convenient. It’s perfect for quick meals or big gatherings with loved ones. To keep your outdoor sink in top shape, follow the cleaning and maintenance tips. Regular care will make your sink last for many years. Enjoy your new outdoor space and let it spark your cooking ideas.
Frequently Asked Questions (FAQs)
Related Articles
The Outdoor Kitchen Sink: A Buyer’s Guide
https://openskykitchen.com/the-outdoor-kitchen-sink-a-buyers-guide/
How to Connect an Outdoor Sink with a Faucet in 4 Steps
https://openskykitchen.com/how-to-connect-an-outdoor-faucet-to-a-sink/
5 Reasons You Need a Portable Outdoor Sink
https://openskykitchen.com/why-you-need-a-portable-outdoor-sink/
DIY vs. Pre-Built Outdoor Sinks: Which is Right for You?
https://openskykitchen.com/diy-vs-pre-built-outdoor-sinks-which-is-right-for-you/