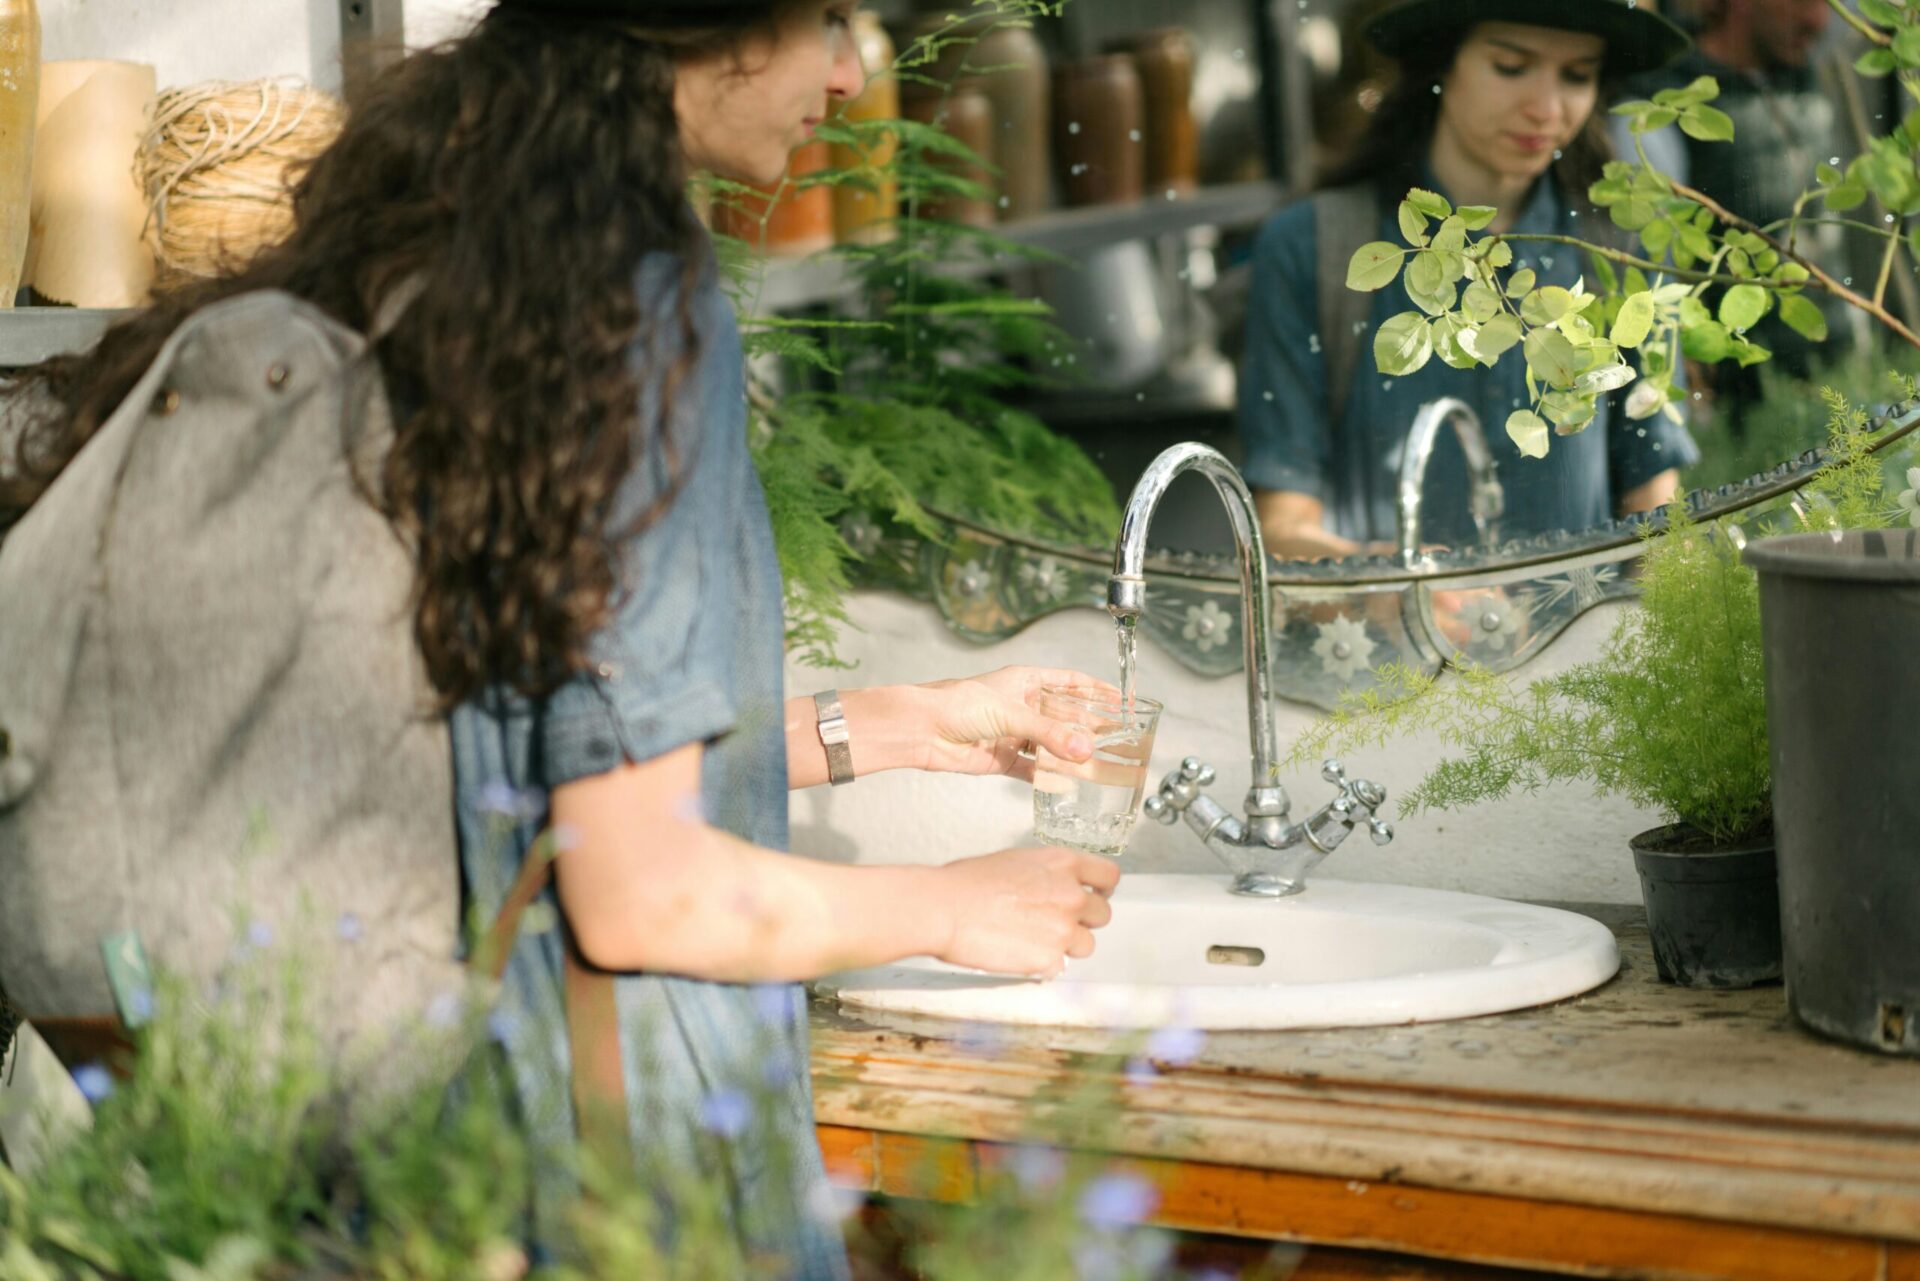
How to Connect an Outdoor Sink with a Faucet in 4 Steps
Connecting an outdoor sink with a faucet is a proper plan that can change your outdoor space. Whether you’re installing an outdoor kitchen or a garden area or simply need a washing area, this guide will walk you through the procedure. It’s easier than you may think and requires just a few tools and materials.
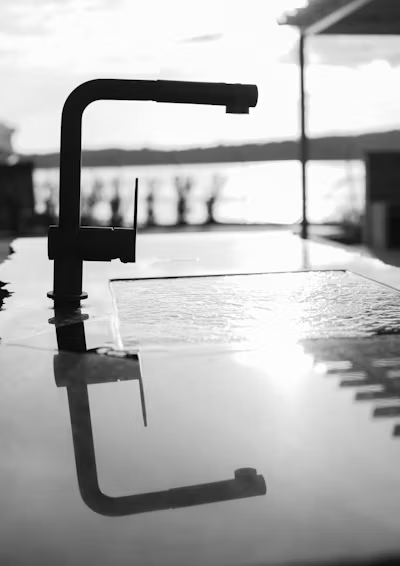
Before you start connecting your outdoor sink with a faucet, make sure you have chosen the right faucet for your outdoor sink. Our article on choosing the best outdoor sink faucet can help you make an informed decision and ensure a successful installation.
Why Connect an Outdoor Sink with a Faucet?
Outdoor sinks are handy for:
- Gardening: Rinse your tools, wash vegetables, or clean up dirty hands.
- Entertaining: Makes washing up during barbecues or outdoor parties.
- DIY Projects: A convenient spot to clean paintbrushes or wash after messy projects.
What You’ll Need to Connect Outdoor Sink with a Faucet
Before starting the process, collect these tools and materials:
- Y-hose connector: Allows you to crack the faucet for double purposes.
- Garden hose: Long enough to reach from the faucet to your sink.
- Sink with threaded tube: an adapter to fit the hose.
- Teflon tape: For close connections.
- Hose clamps (optional): For extra safety on connections.
Step-by-Step Instructions
1. Place the Y-Hose Connector
Attach a Y-hose connector to your outdoor faucet. This lets you use the faucet for both the sink and a garden hose at the same time.
- Cover the faucet threads with Teflon tape to make sure they have a stiff seal.
- Join the Y connector and hand-tighten it. Use pliers if needed, but avoid overtightening.
2. Join the Garden Hose
Join one end of the garden hose to one opening of the Y-hose connector.
- Make sure the joint is tight to avoid leaks.
- Examine the ending valve on the Y-connector to make sure water flows appropriately when open.
3. Join the Hose to the Sink
Join the other end of the garden hose to the sink’s water inlet.
- An adapter is necessary to fit the hose if the sink does not have a threaded inlet.
- If the fit feels loose, use a hose clamp to tighten the connection by hand or use a wrench if necessary.
4. Examine Your Setup
Turn on the outdoor faucet and carefully open the shut-off valve that leads to the sink.
- Check all connections for leaks.
- If you see any leaks, tighten the fittings or add more Teflon tape.
Tips for Maintenance:
- Winterize the setup: In winter, disconnect the hose and drain any remaining water to guard against freezing and damage.
- Regular checks: regularly inspect connections to prevent damage. Replace parts as needed.
Conclusion
Adding a sink to your outdoor faucet is an easy way to enhance your outdoor living space. With a few basic tools and knowledge, you’ll have a functional and practical sink ready to go. If you found this guide helpful, don’t hesitate to share it with friends who might be tackling a similar project!