5 Easy Steps to Plumb an Outdoor Sink
In this article, you will learn about 5 steps to plumb your outdoor sink. Including an outdoor sink in your backyard or garden can be a great way to increase your outdoor living space. Whether you’re utilizing it for gardening, outdoor cooking, or tidying up after recreational activities. Installing an outdoor sink is a quite simple DIY project. This article will guide you through the process step by step.
Tools and Materials Needed
- Silicone sealant (optional)
- Adjustable wrench
- Shovel (if installing underground pipes)
- Bucket
- Pipe fittings and connectors
- Outdoor sink and stand or countertop
- Garden hose or plumbing pipes (PVC or PEX)
- Hose bib or outdoor faucet
- Pipe cutter or hacksaw
- Teflon tape
- Drain pipe or greywater system
- Hose clamps
Step-by-Step Guide
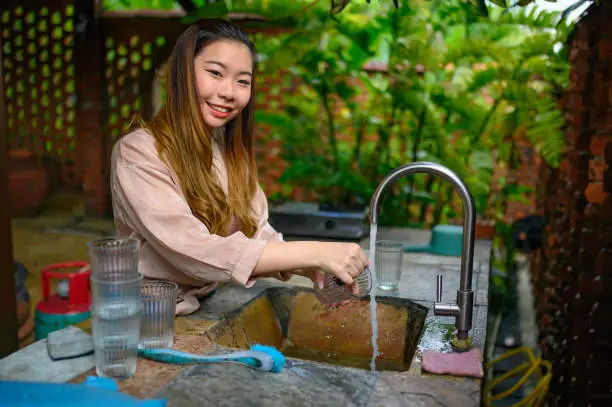
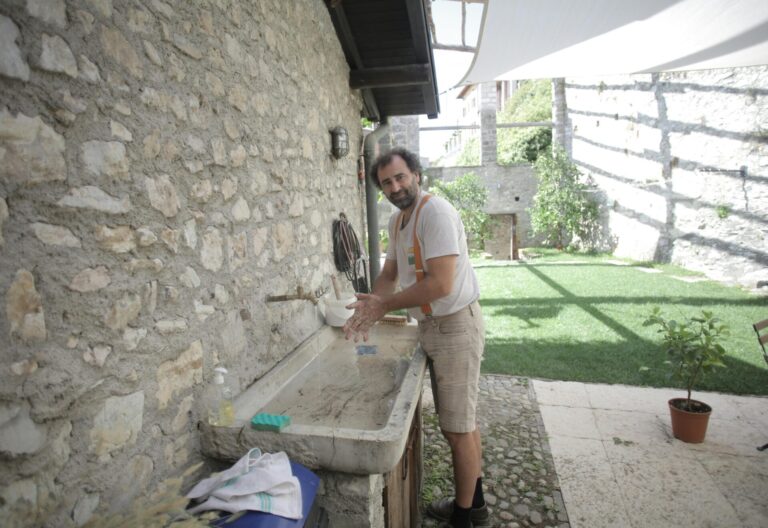
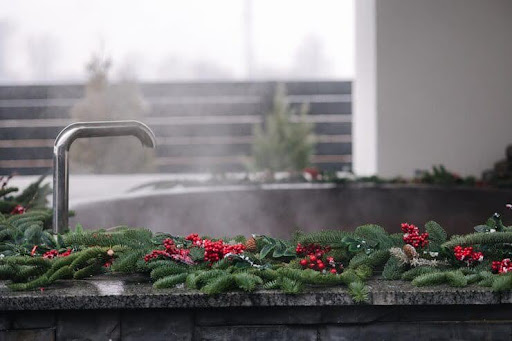
Step 1: Choosing the Sink Location
Choose a place close to a live water source, such as an outdoor tap, to reduce plumbing work. Ensure the sink is situated on a strong surface and has ingress to proper drainage.
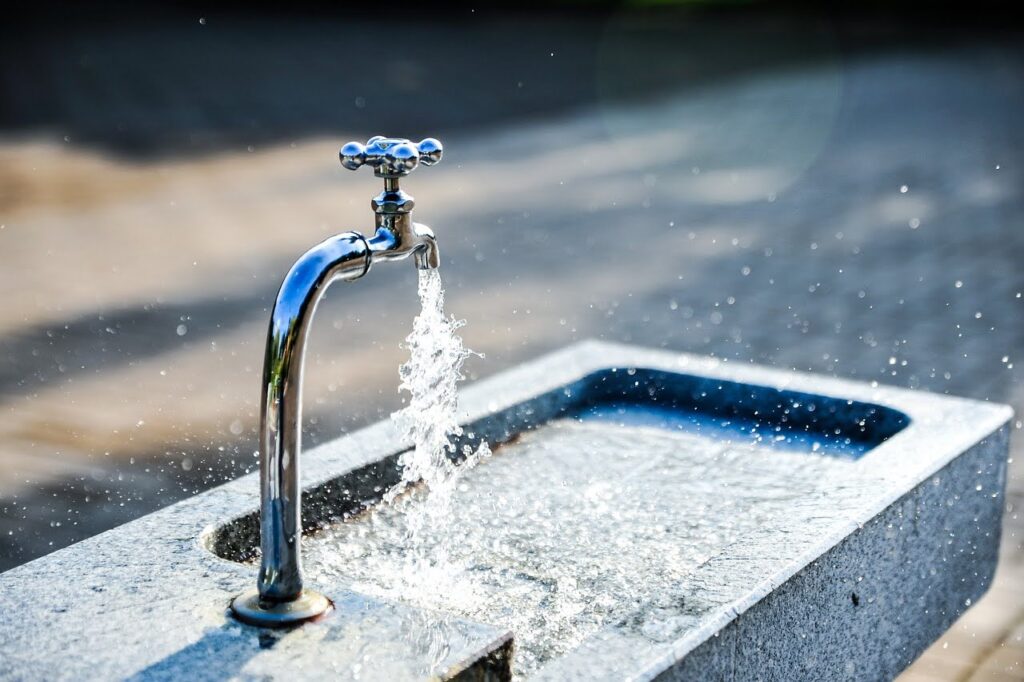
Step 2: Connect the Water Supply
Option 1: Using a Garden Hose
- Connect a hose splitter to your outdoor tap
- Attach a pipe to the splitter and pass it to the sink’s inlet.
- Fix the hose to the sink’s tap using the hose bracket.
Option 2: Using Permanent Plumbing
- Stop the main water supply before placing new pipes.
- Install PVC pipes to transport cold water from your main supply to the location of the sink.
- Place a shutoff valve close to the sink to simplify maintenance.
- Wrap Teflon tape around the threaded sections of the pipe to avoid leaks, and utilize pipe fittings to join the pipes together.
- Activate the water supply and inspect for any leaks.
Step 3: Set Up Drainage
Proper drainage is necessary for an outdoor sink. Here are some main drainage options:
Option 1: Direct Drain to the Ground (Greywater System)
- Connect the adjustable drain hose to the sink’s drain outlet.
- Manage the hose to a garden bed, or other drainage area.
- Make sure the water is dumped safely and in confirmation with local rule.
Option 2: Connect to an Existing Drain Line
- Use PVC pipes to connect the sink’s outflow to an existing sump or septic system.
- Install a P-trap to stop the smell from supporting.
- Tight the bond with pipe cement or silicone sealant.
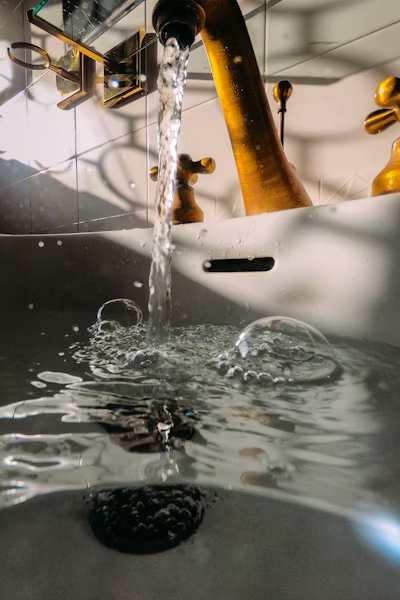
Step 4: Test the System
- Turn on the water supply and check for any leaks in the bond.
- Observe the drainage system by running water through the sink
- Assemble any necessary allotments to ensure continuous water flow.
Step 5: Secure and Finish
- Tie up the sink securely to stop movement.
- Use pipe covering if needed to secure against freezing in cool climates.
- Tidy up that area and enjoy your new outdoor sink!
Maintenance Tips
Daily check for leaks or blocks:
- Clean water supply lines before winter to avoid freezing damage.
- Clear the drain system regularly to avoid expansion.
By following these 5 steps, you can successfully plumb an outdoor sink and enjoy its benefits for your outdoor space.
Happy plumbing!